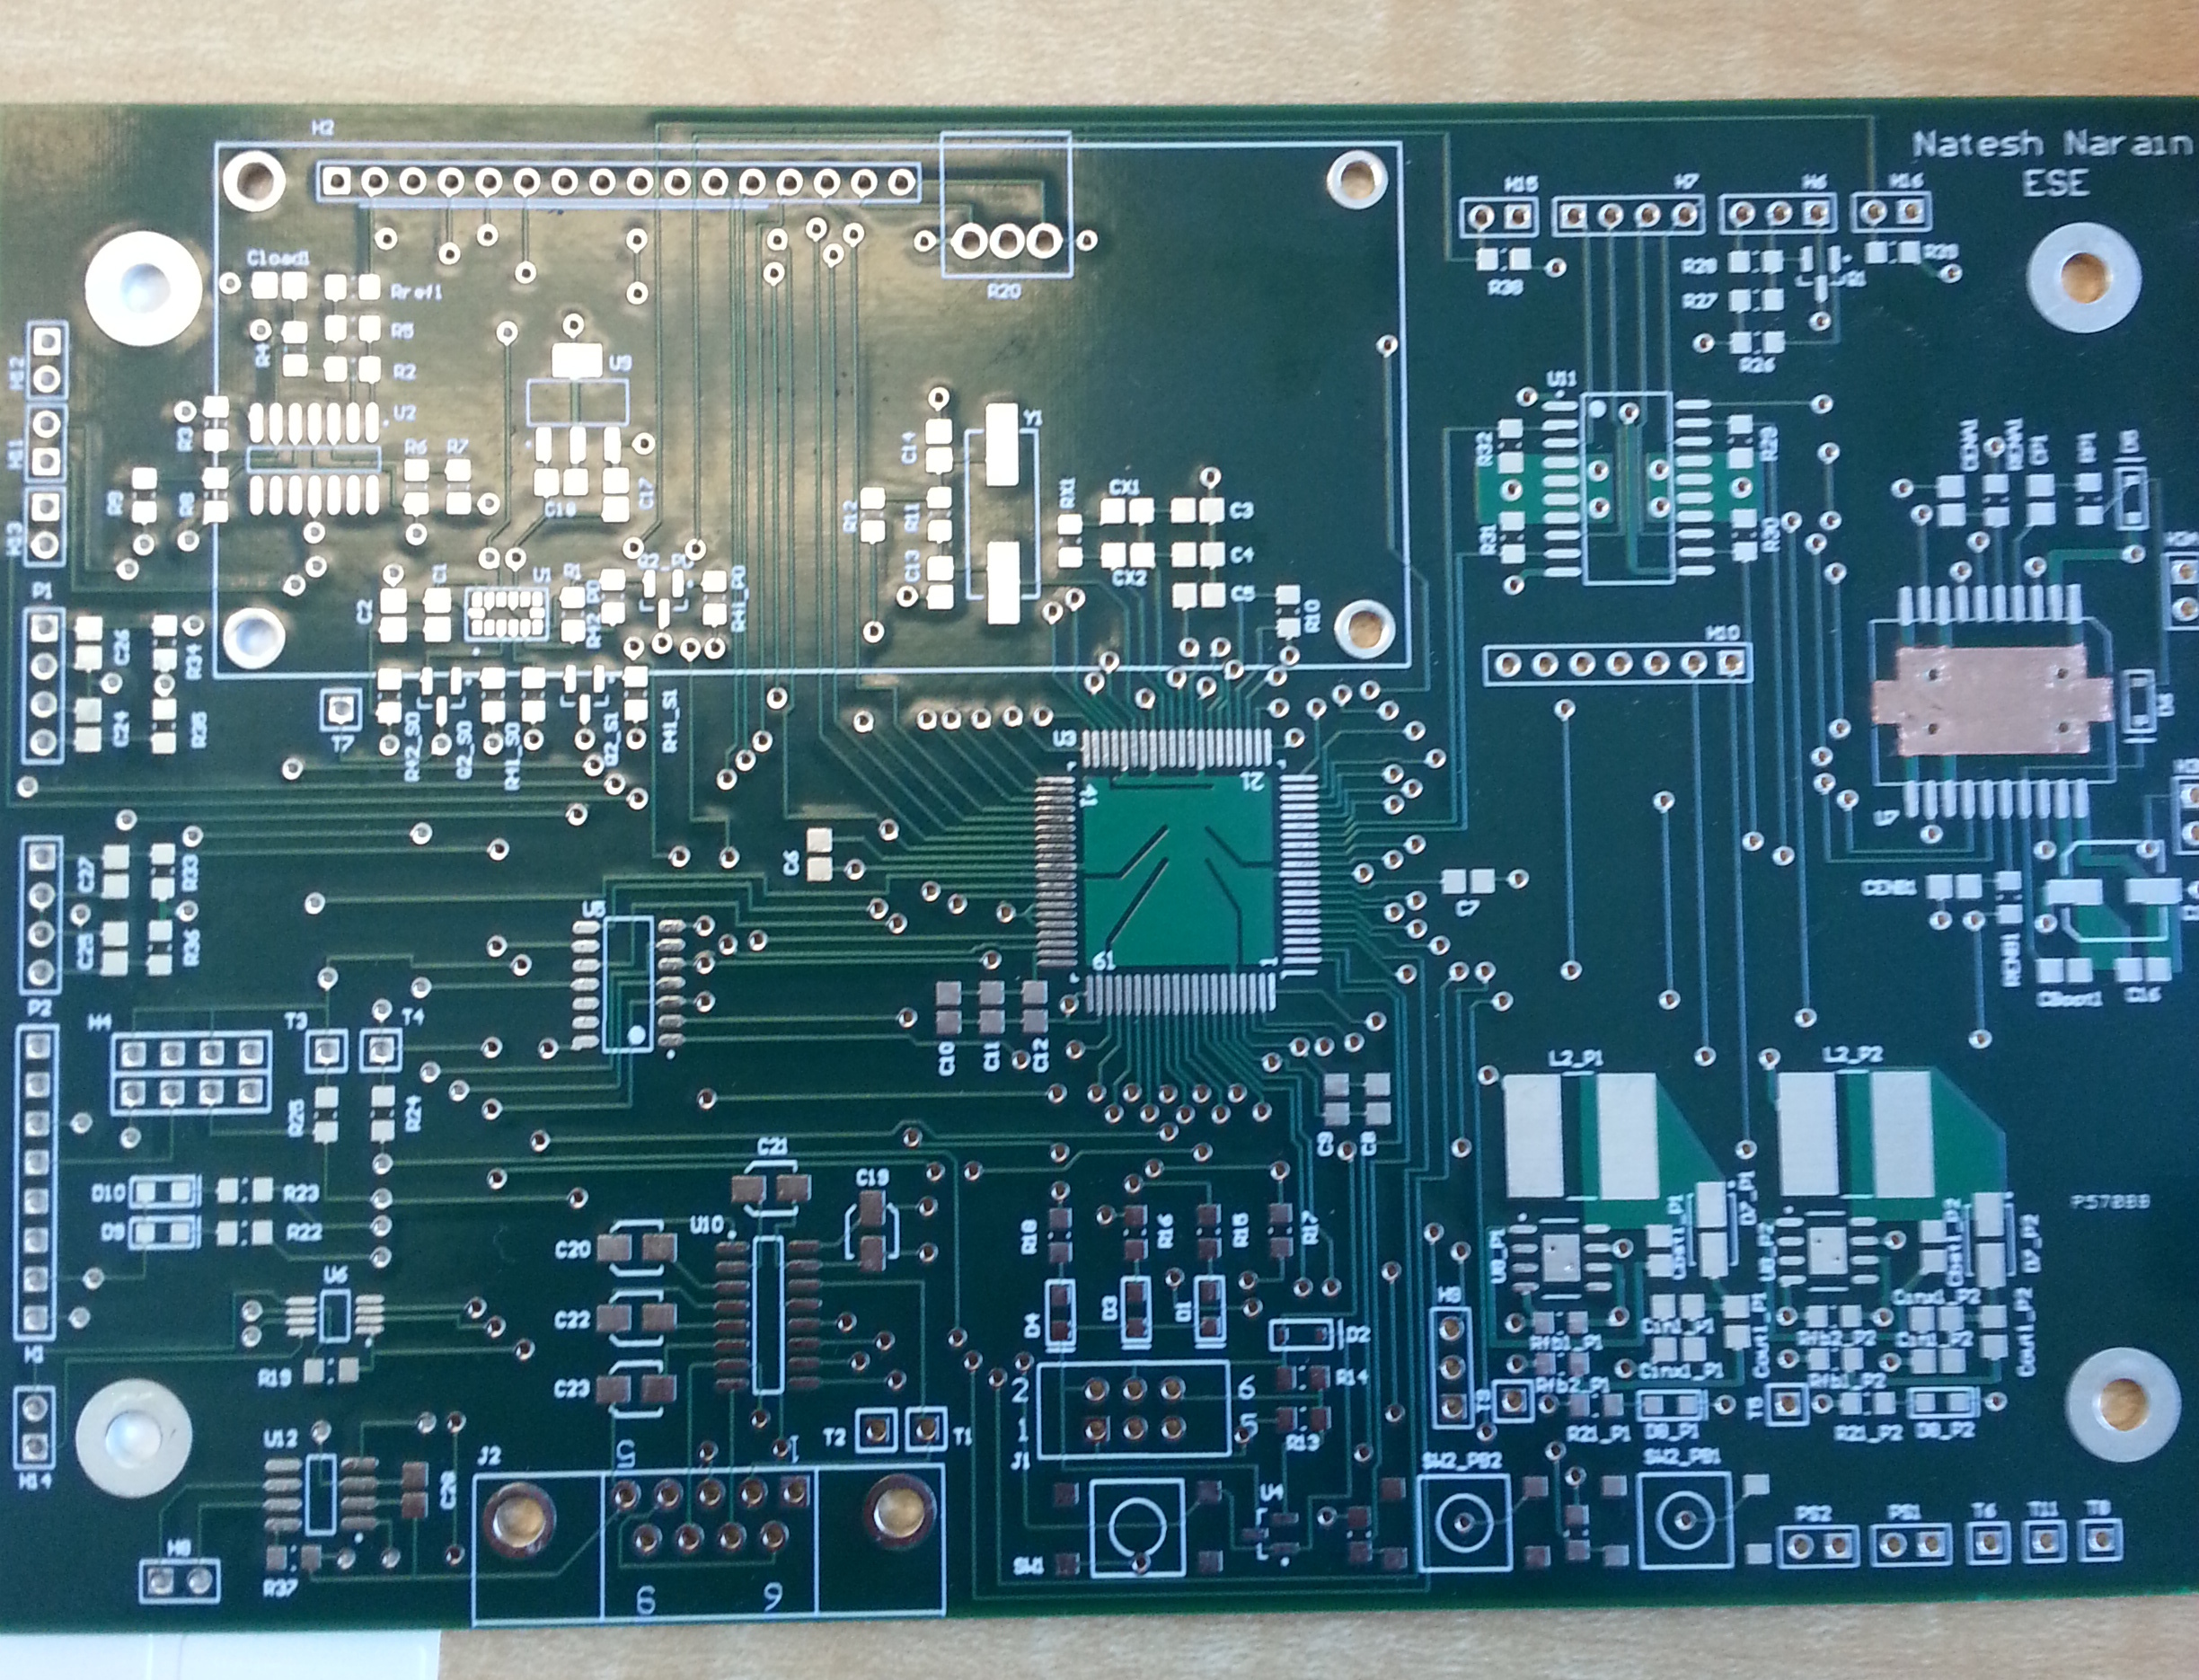
First lets take a look at the board:
The first step in assembling this board is to use a stencil of the top overlay layer to coat the pads with solder paste.
Here’s a look at the stenil used:
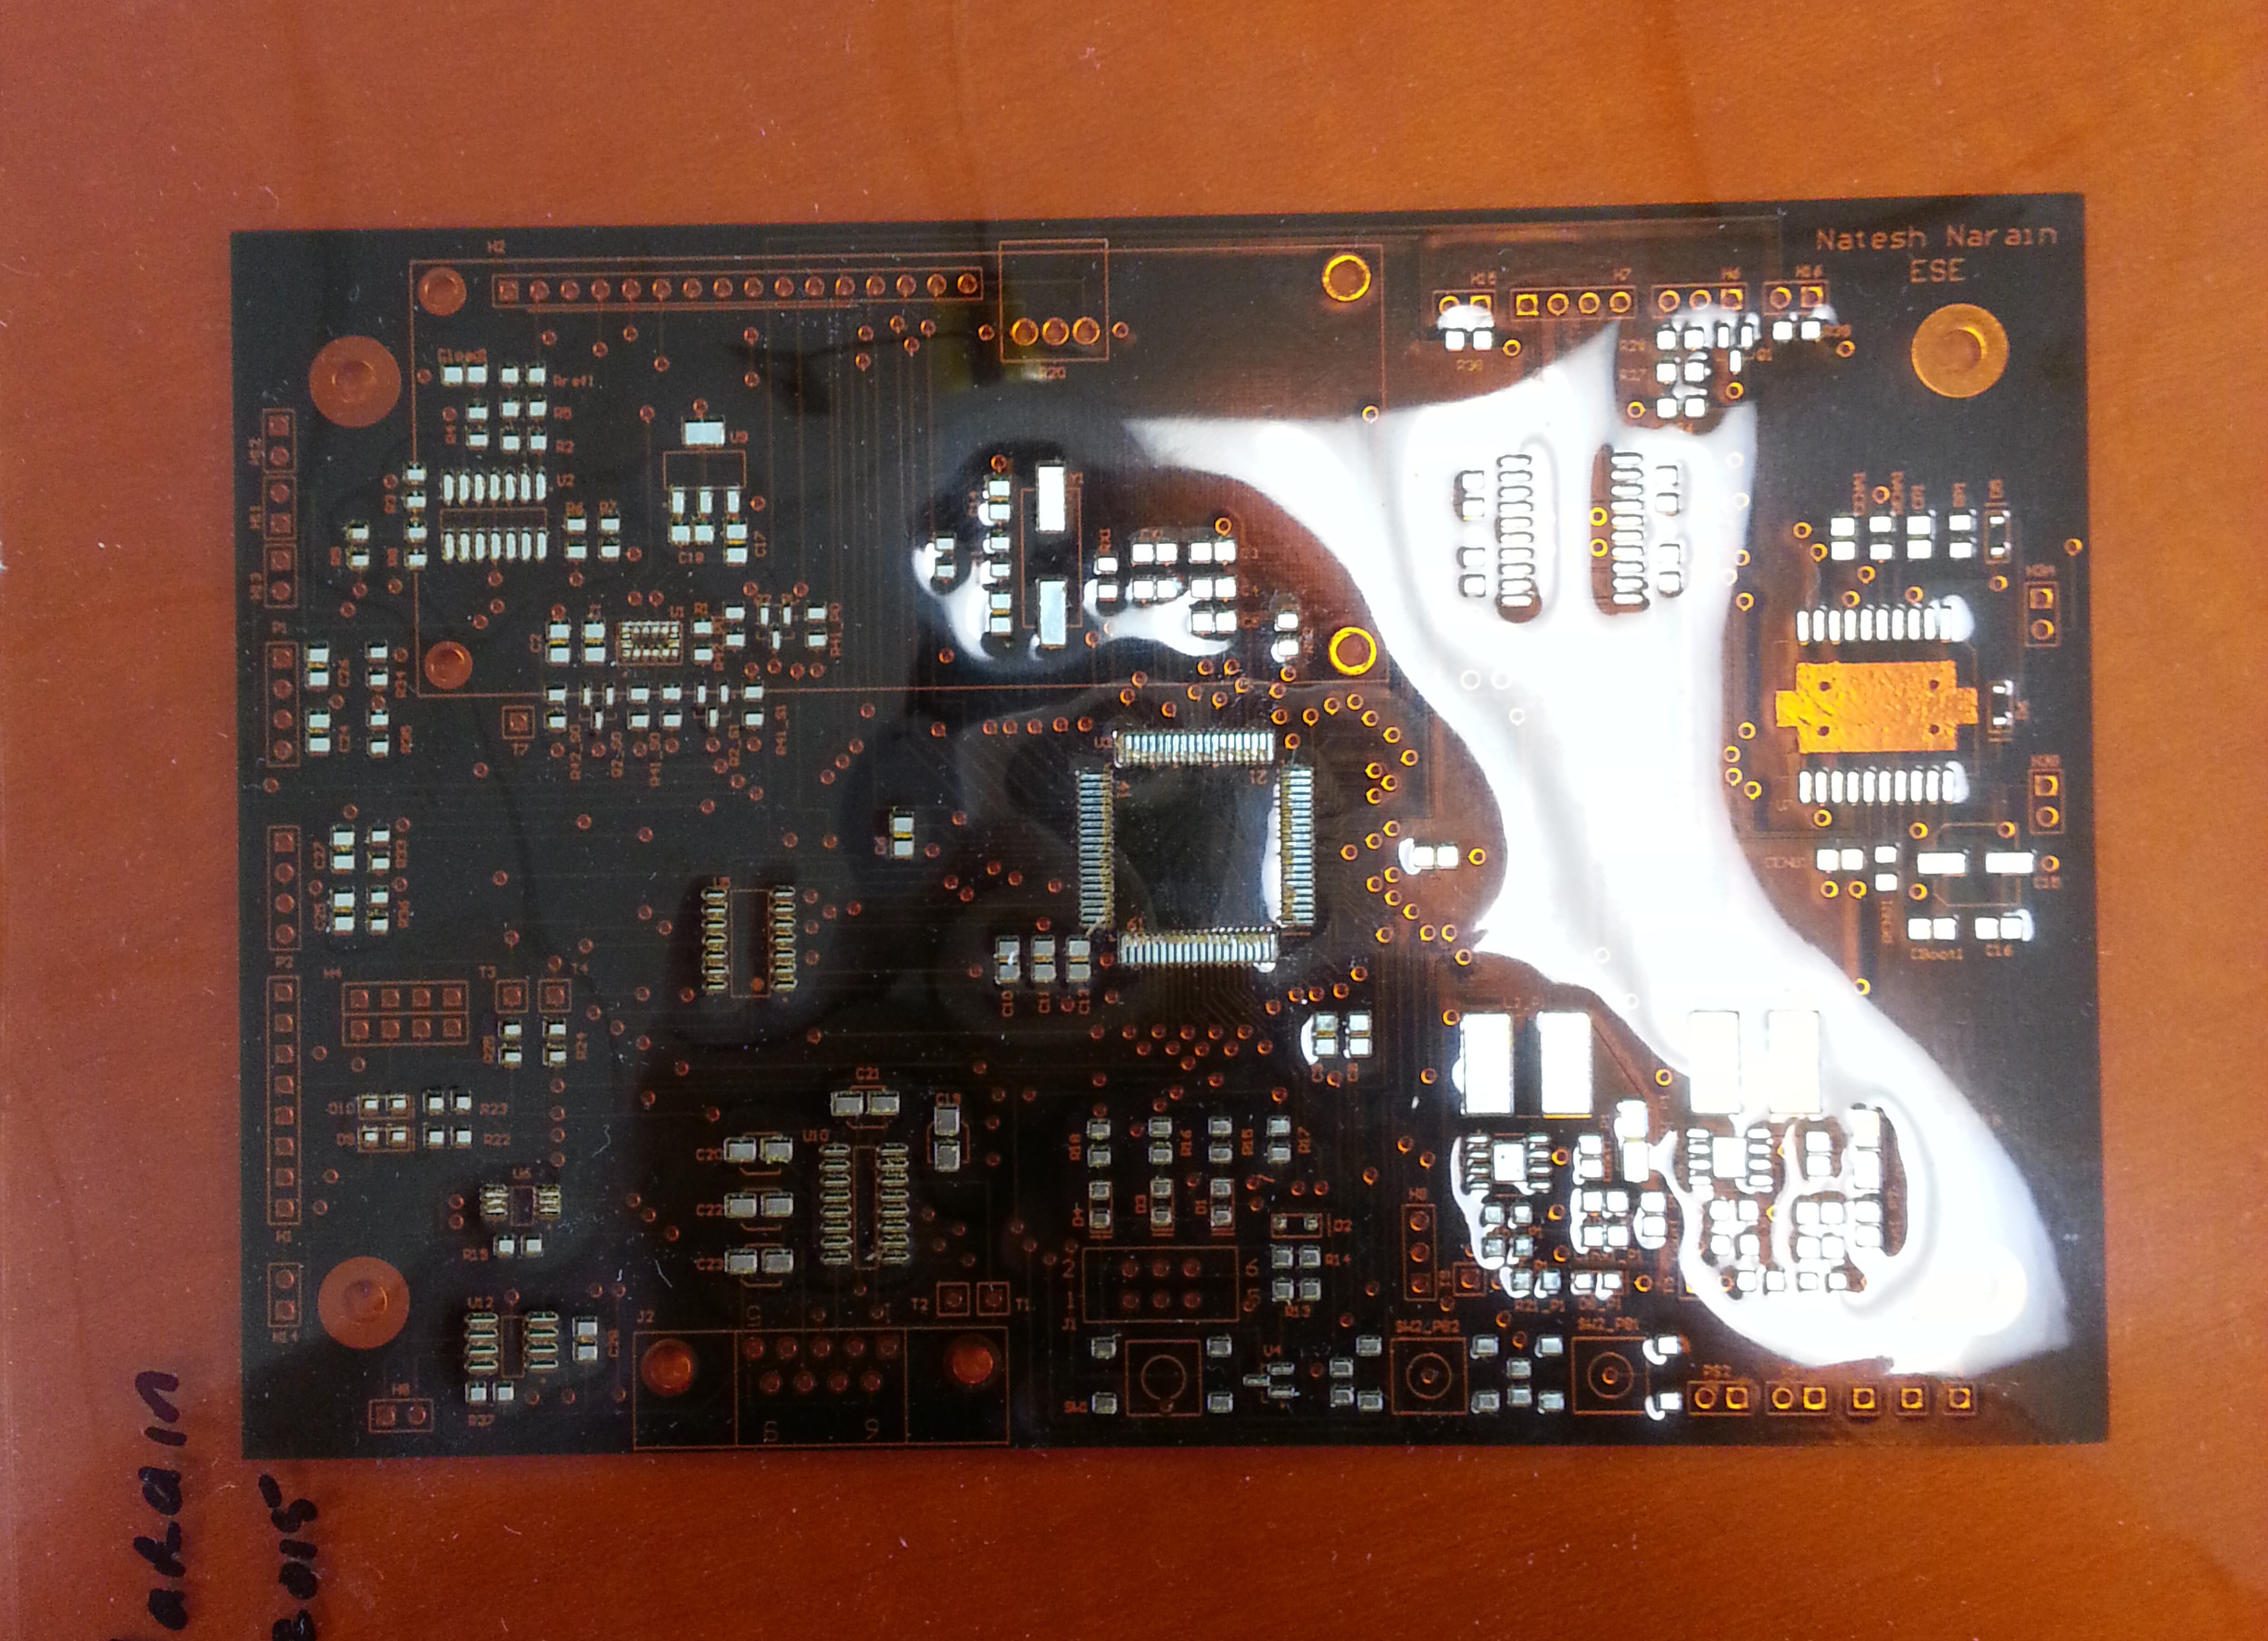
You can see where the solder paste will end up on the pads
Unfortunately the stencil isn’t perfect. The CPU was a particular pain as the pin are very close. I had to manually scrap the solder paste fromin between the pins.
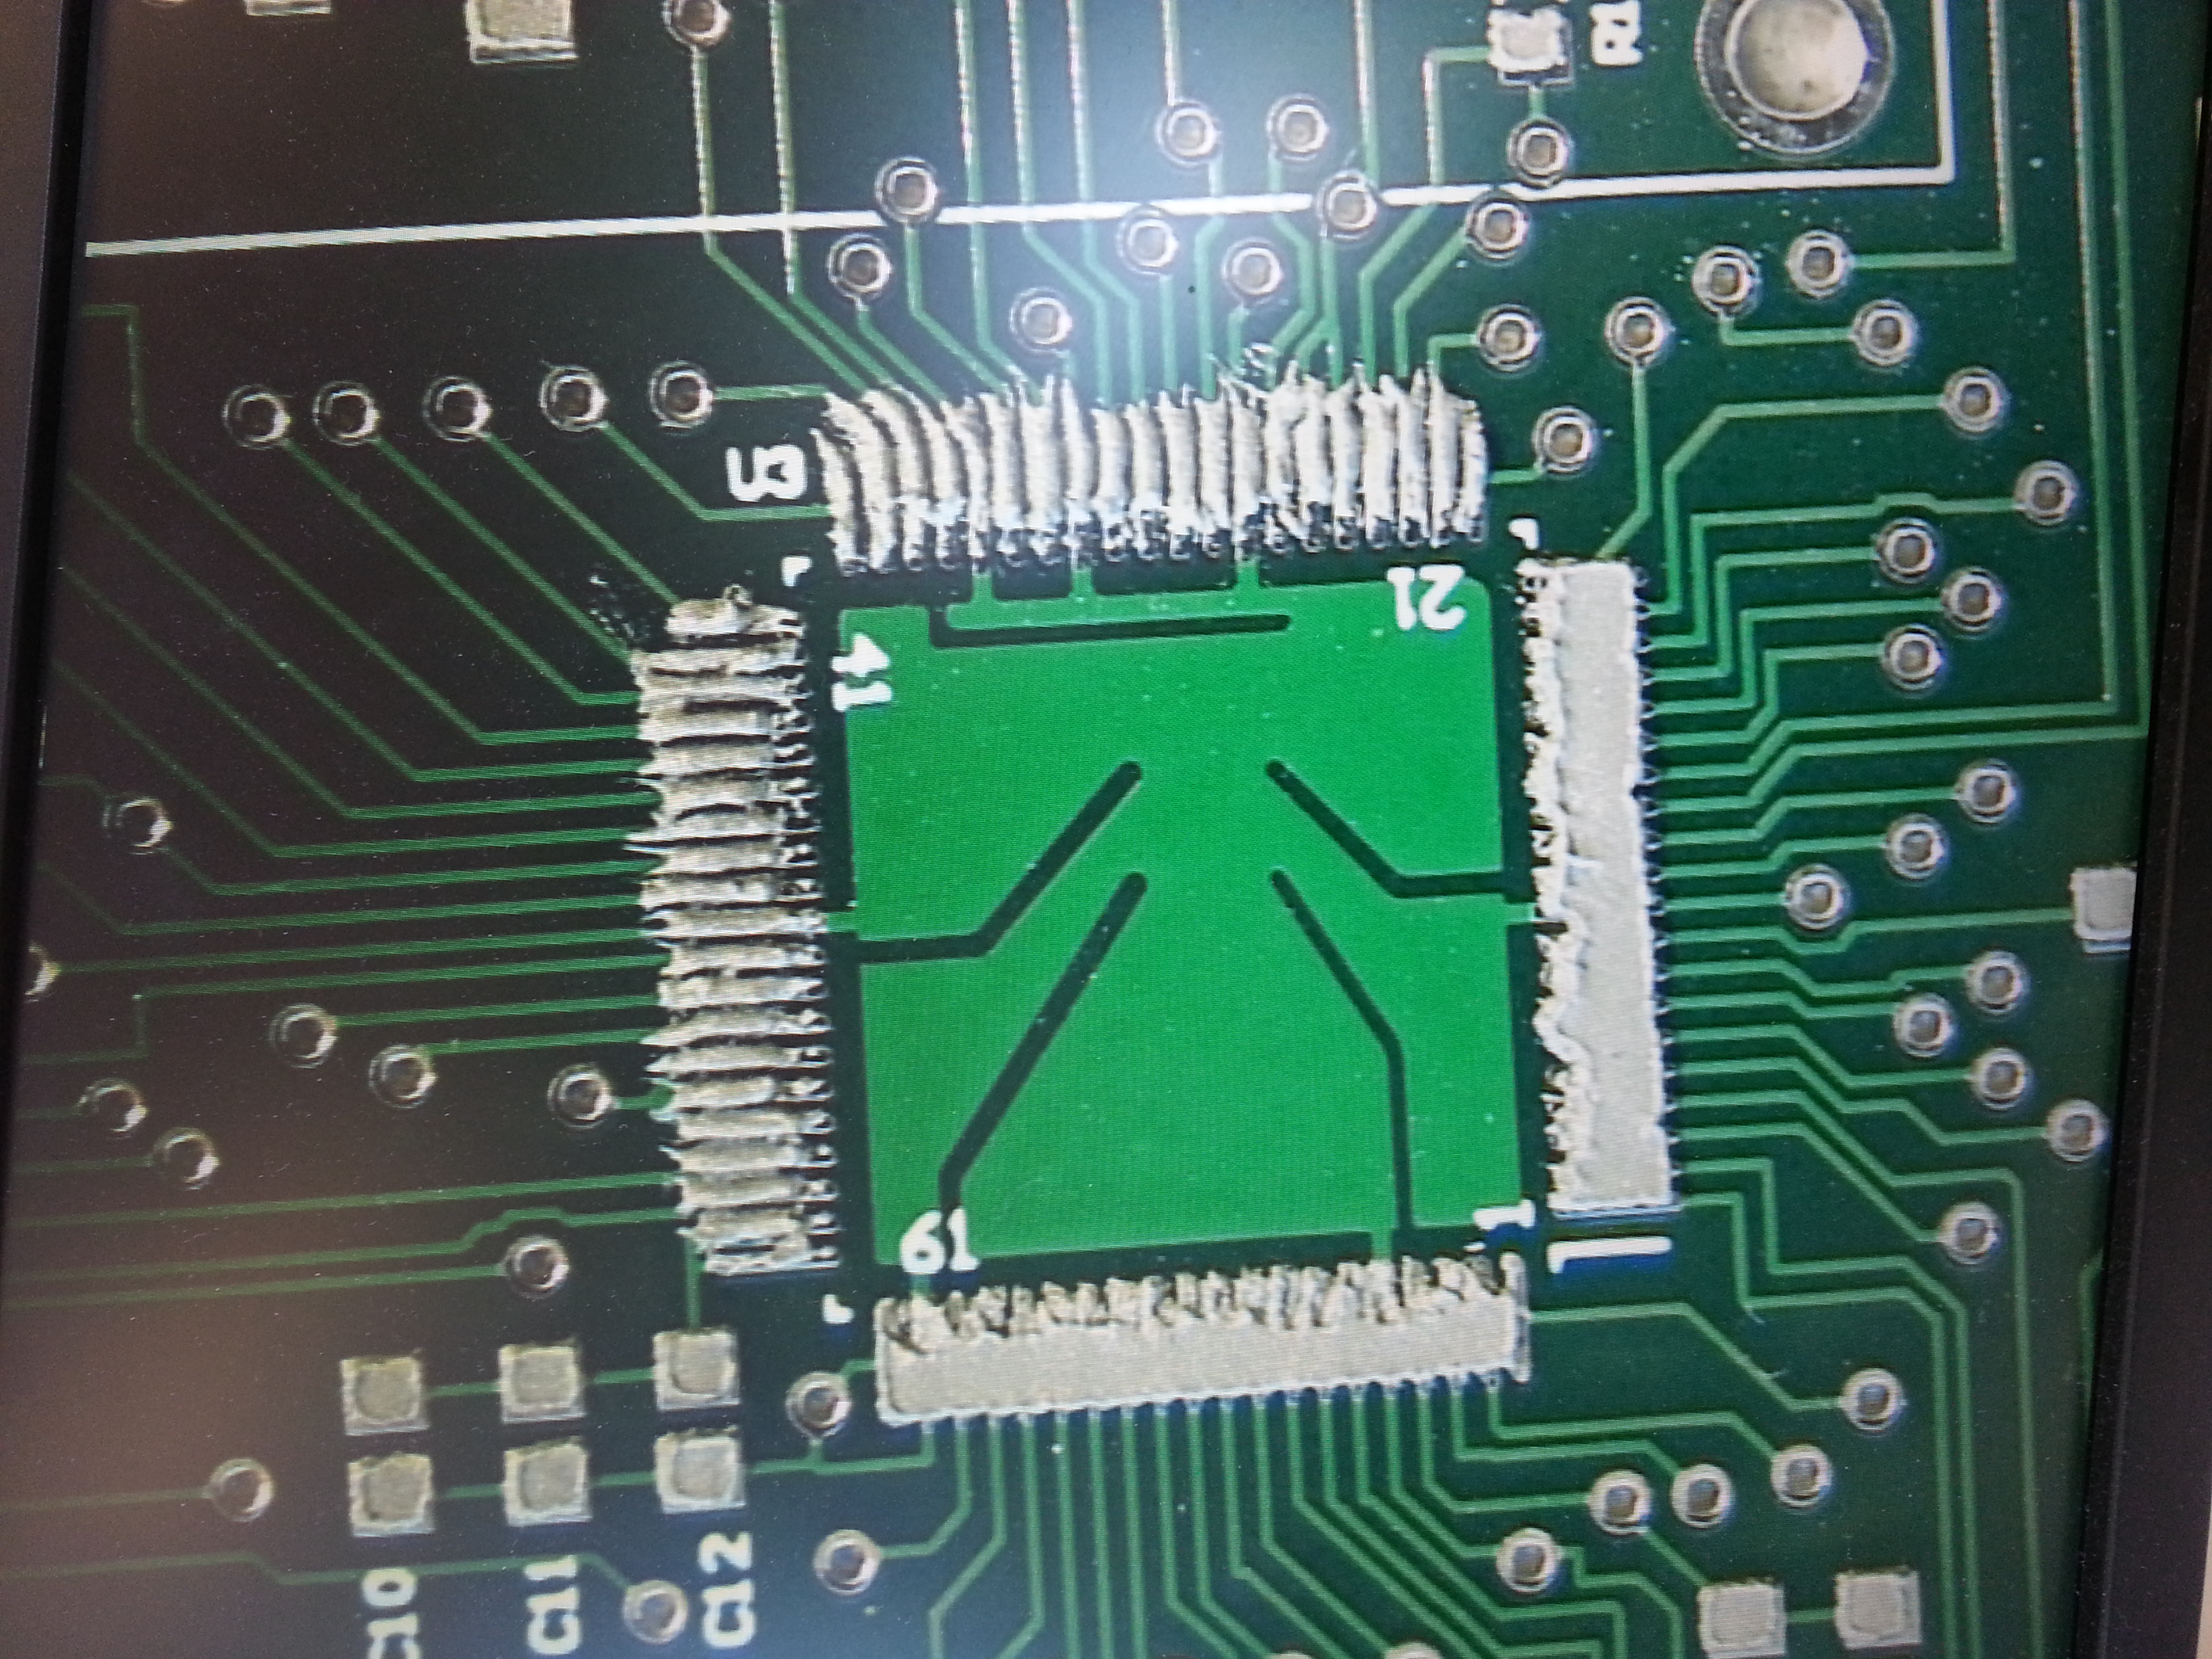
Now this look messy (and it is) but the solder paste, when heated, should flow up onto the CPU pin and separate itself, however some re-work is expected here.
Next is the fun part. Placing the components on the board. Lucky I was able to use a ‘ez-pick’ pick-and-place machine to place the parts
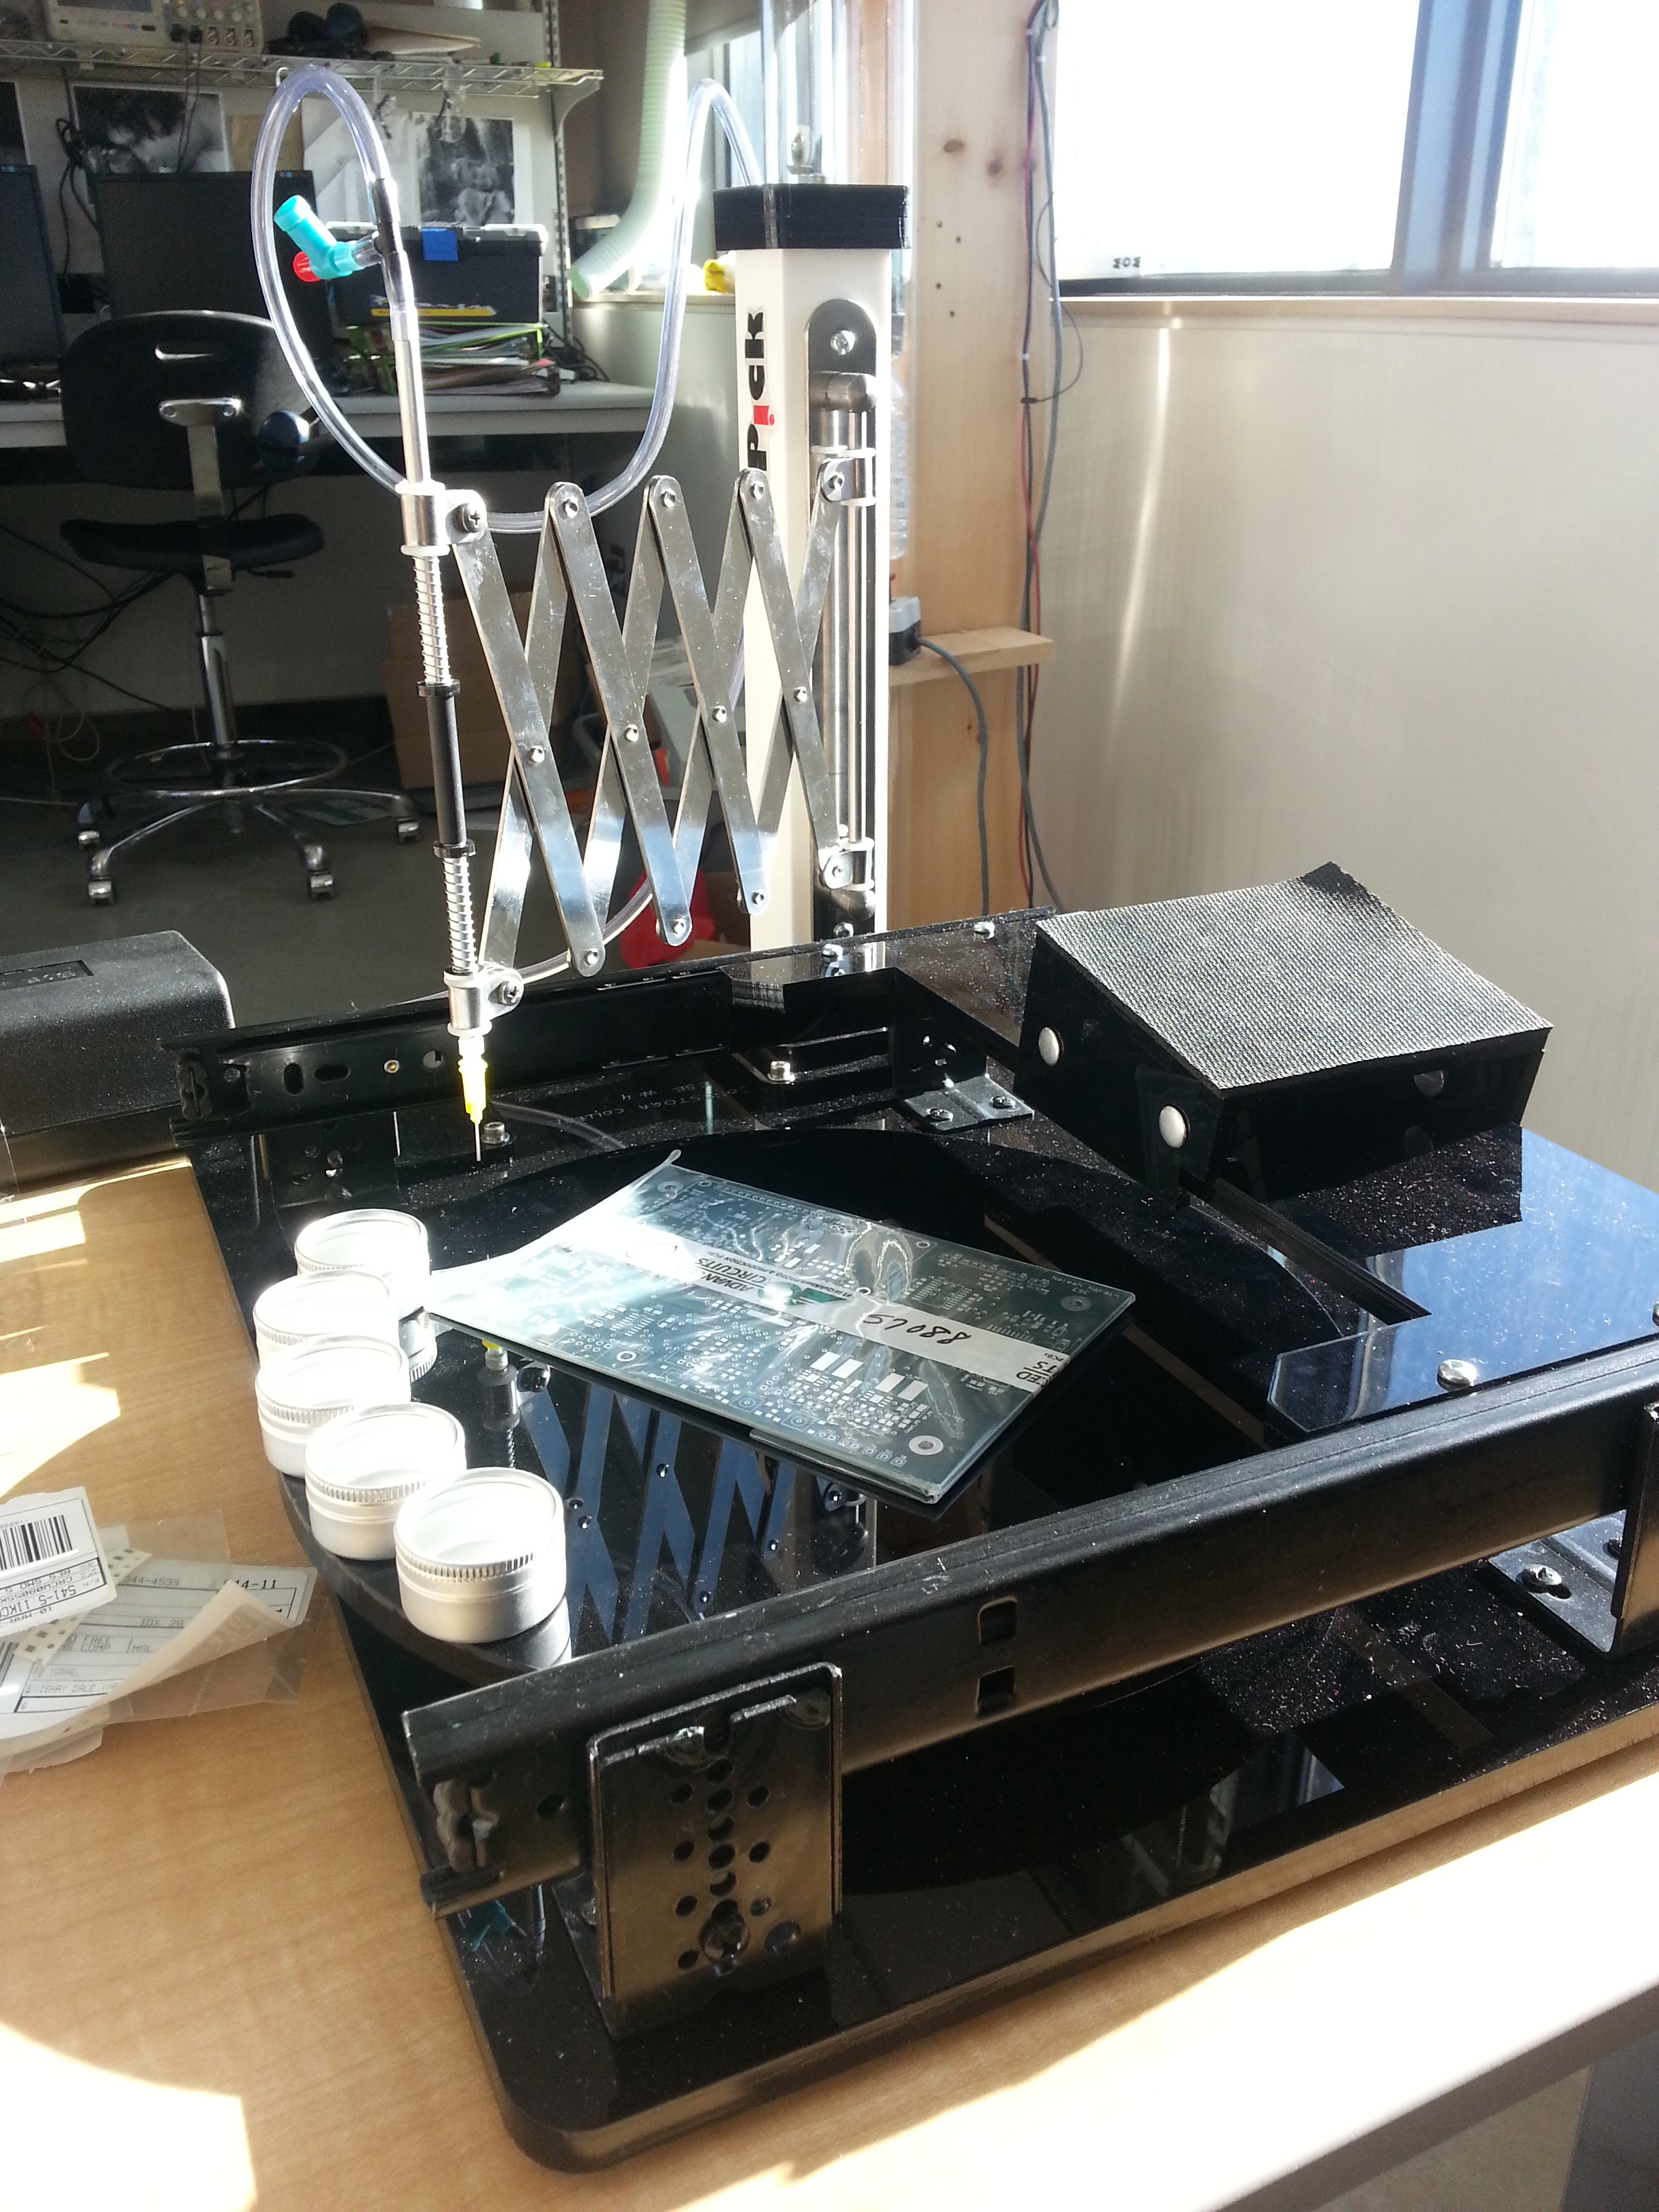
This is basically just an air pump used to suck components up to the nozzle and move they over the board easily.
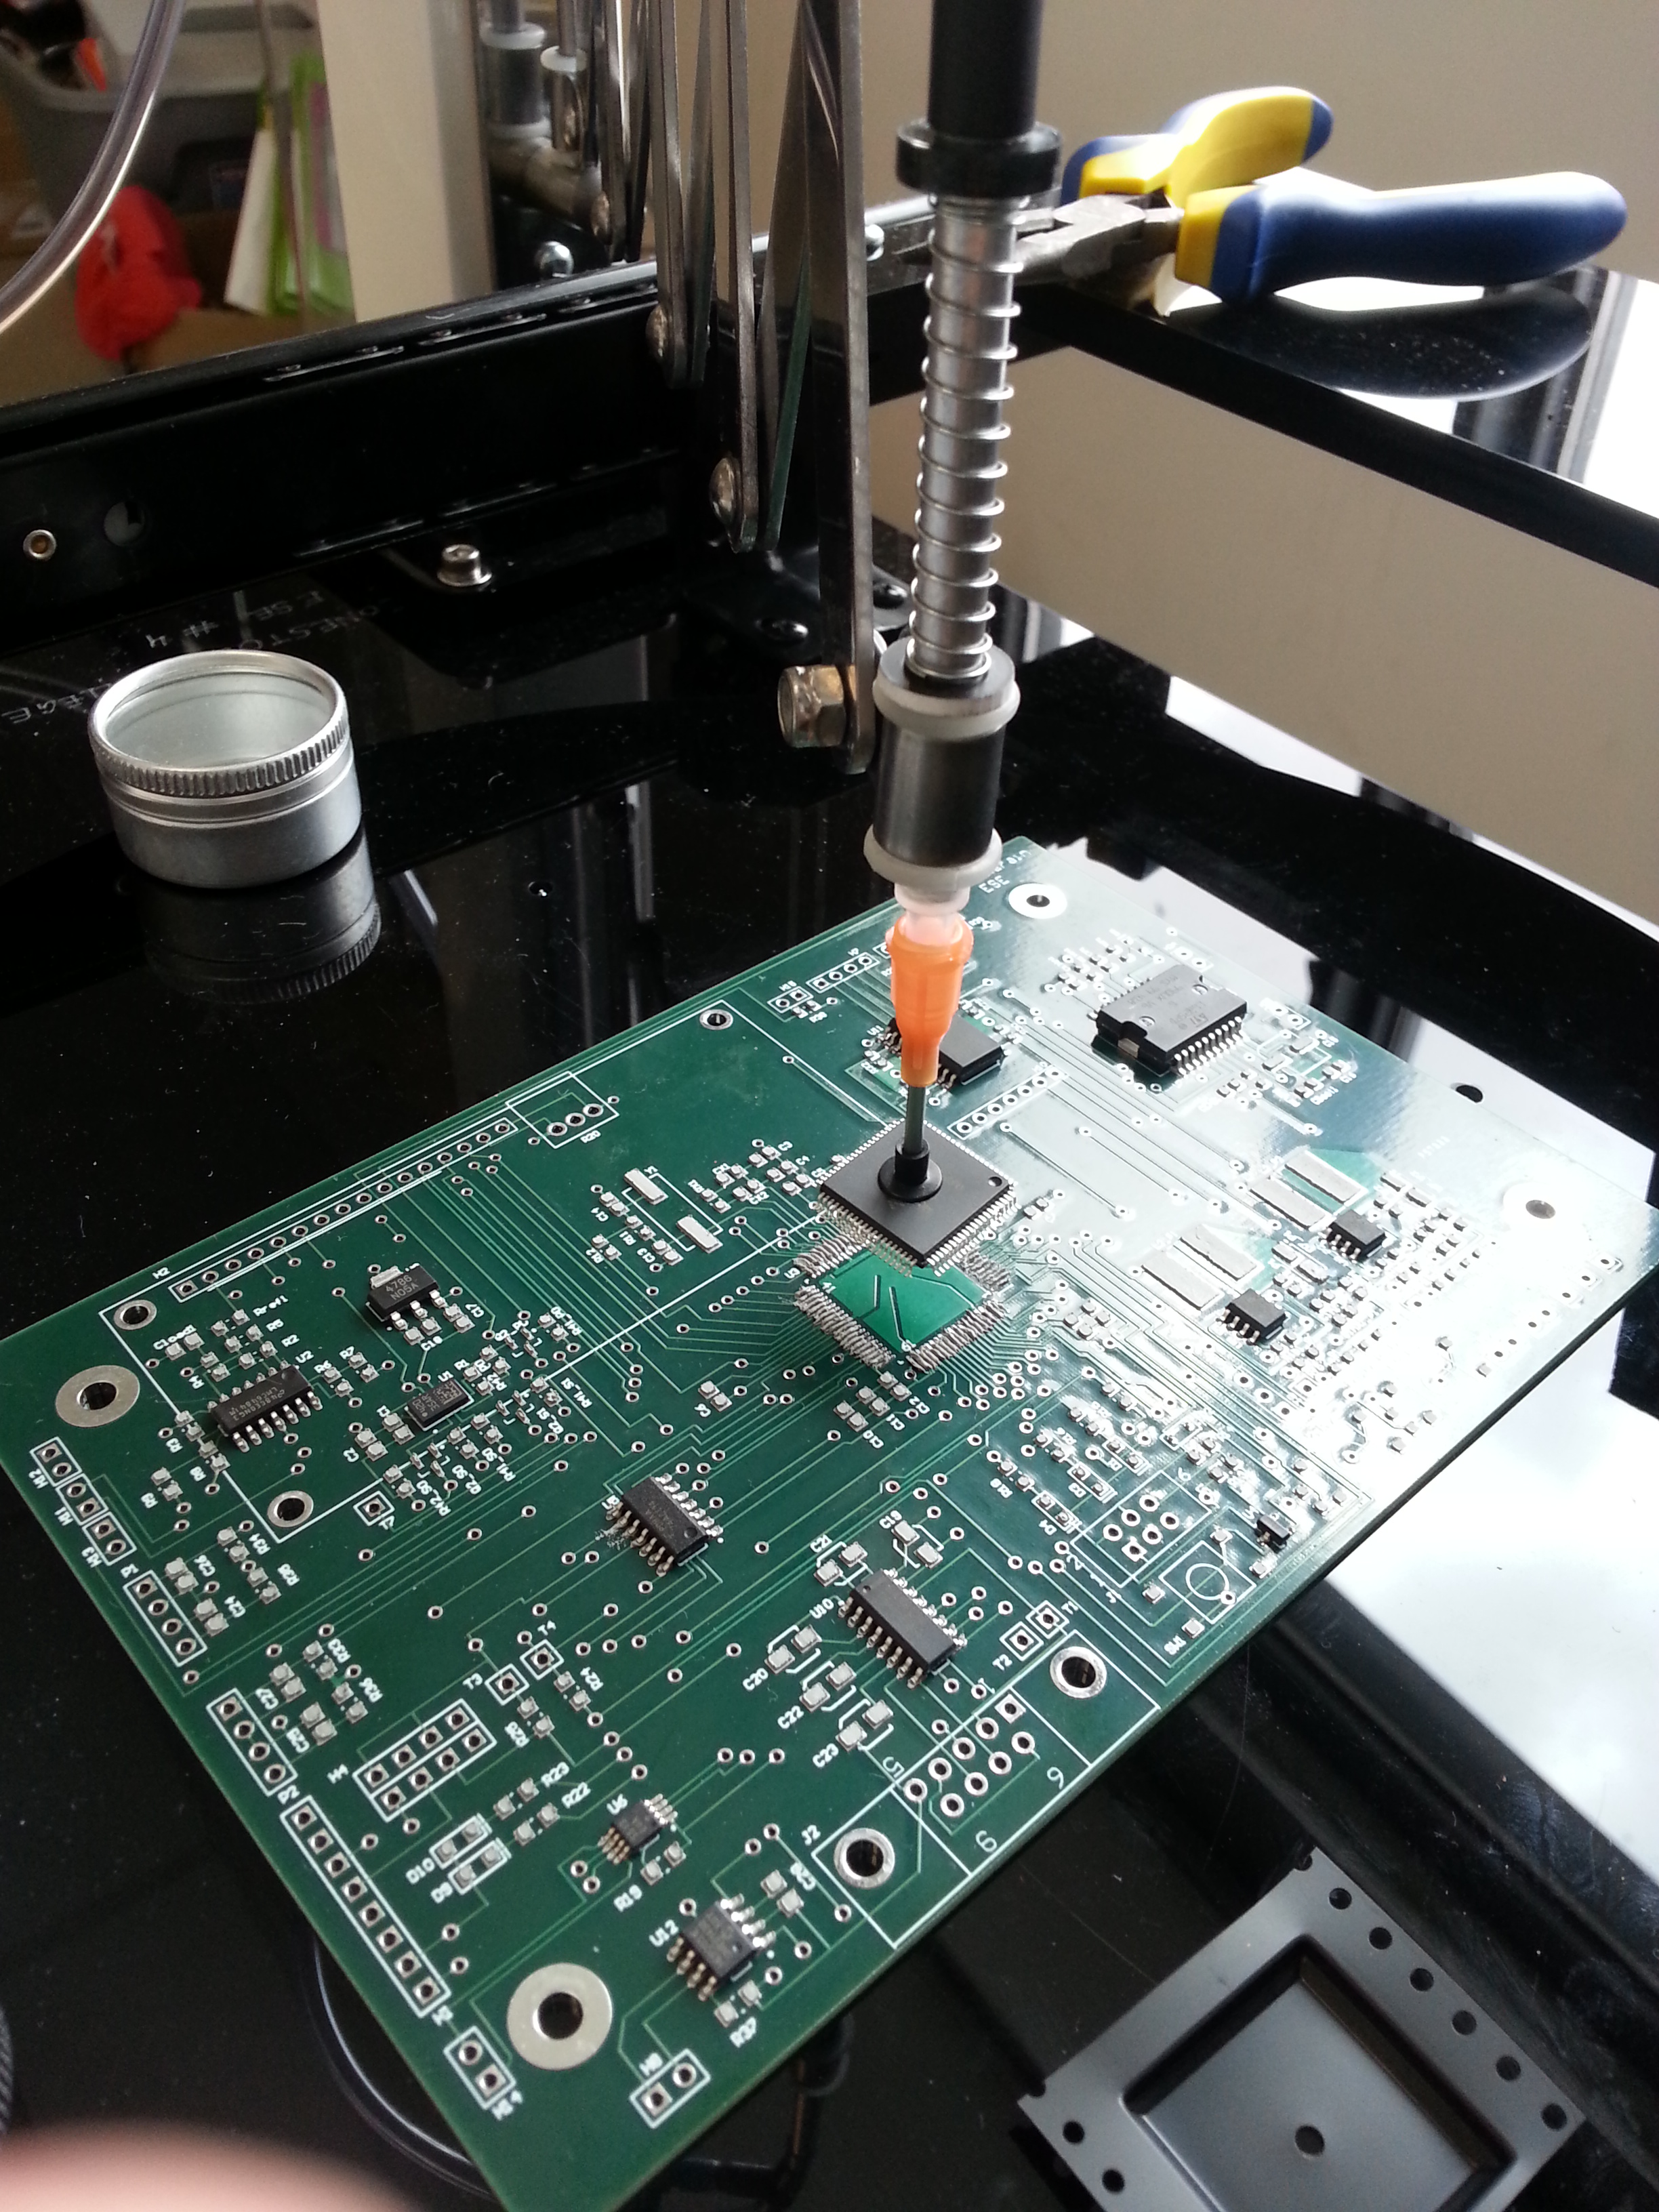
As you can see, the ez-pick is quite handy!
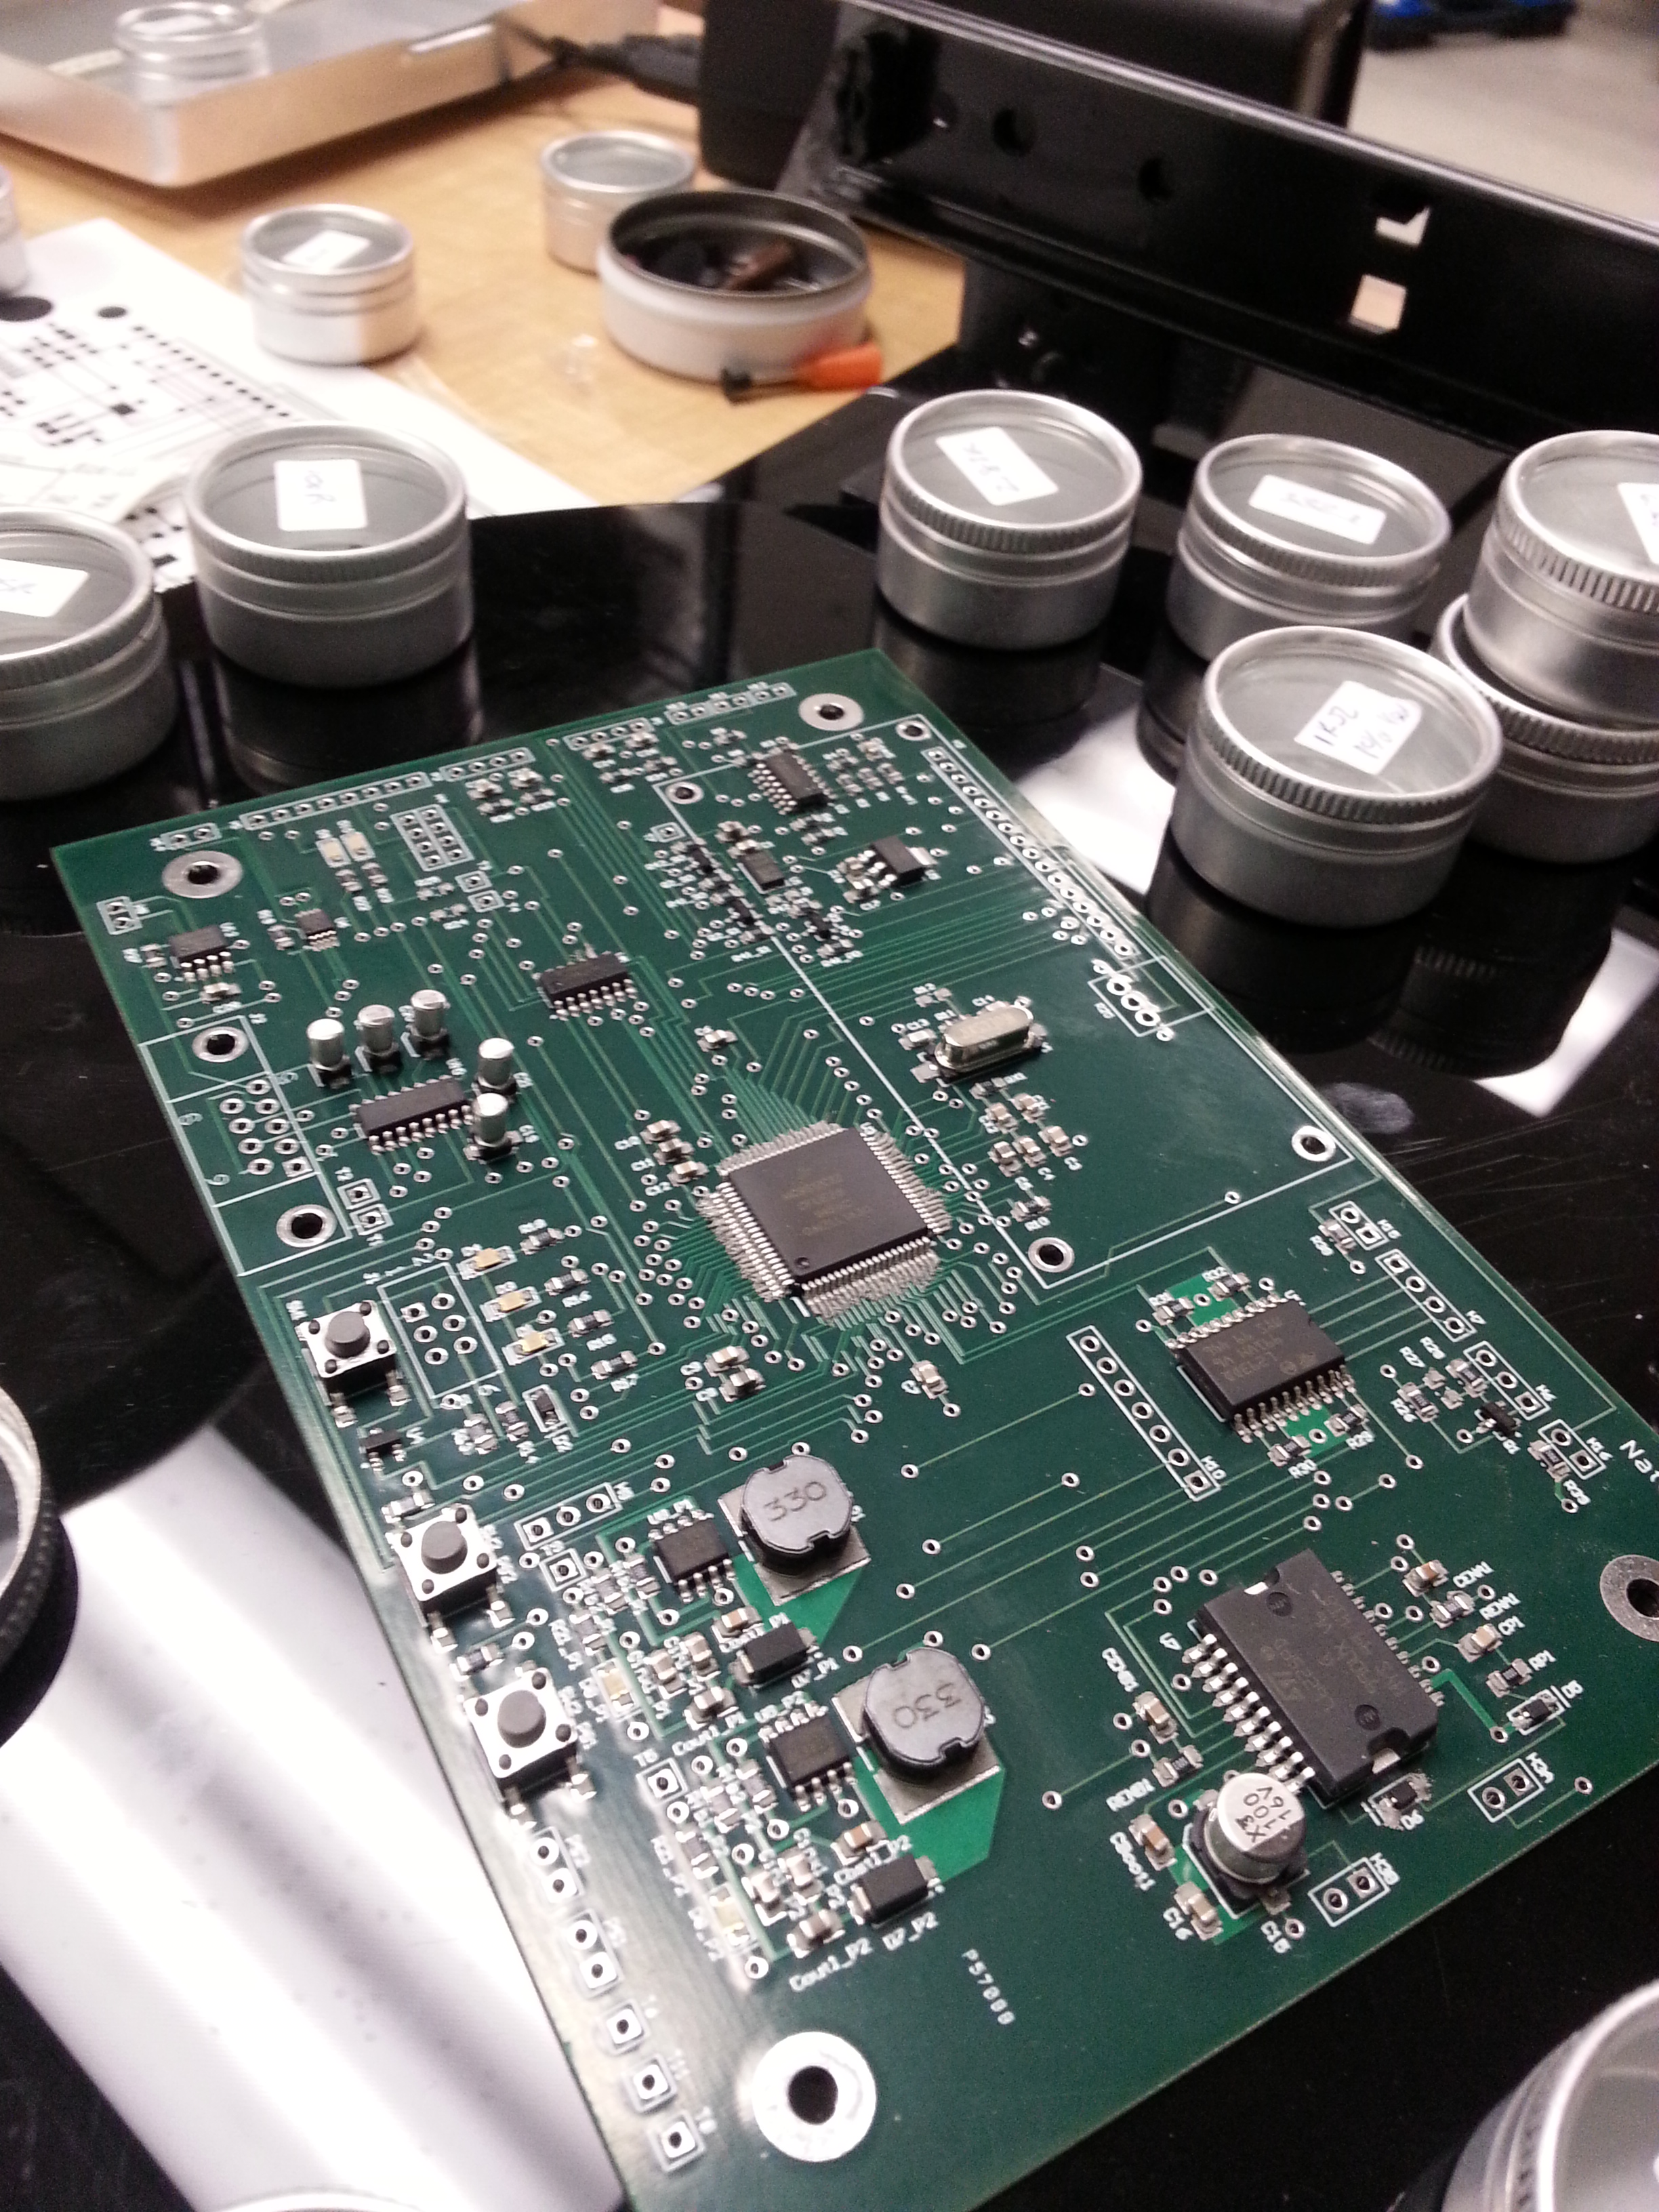
And here it is with all the components places. Tomorrow it goes into the reflow oven to solder the parts down.
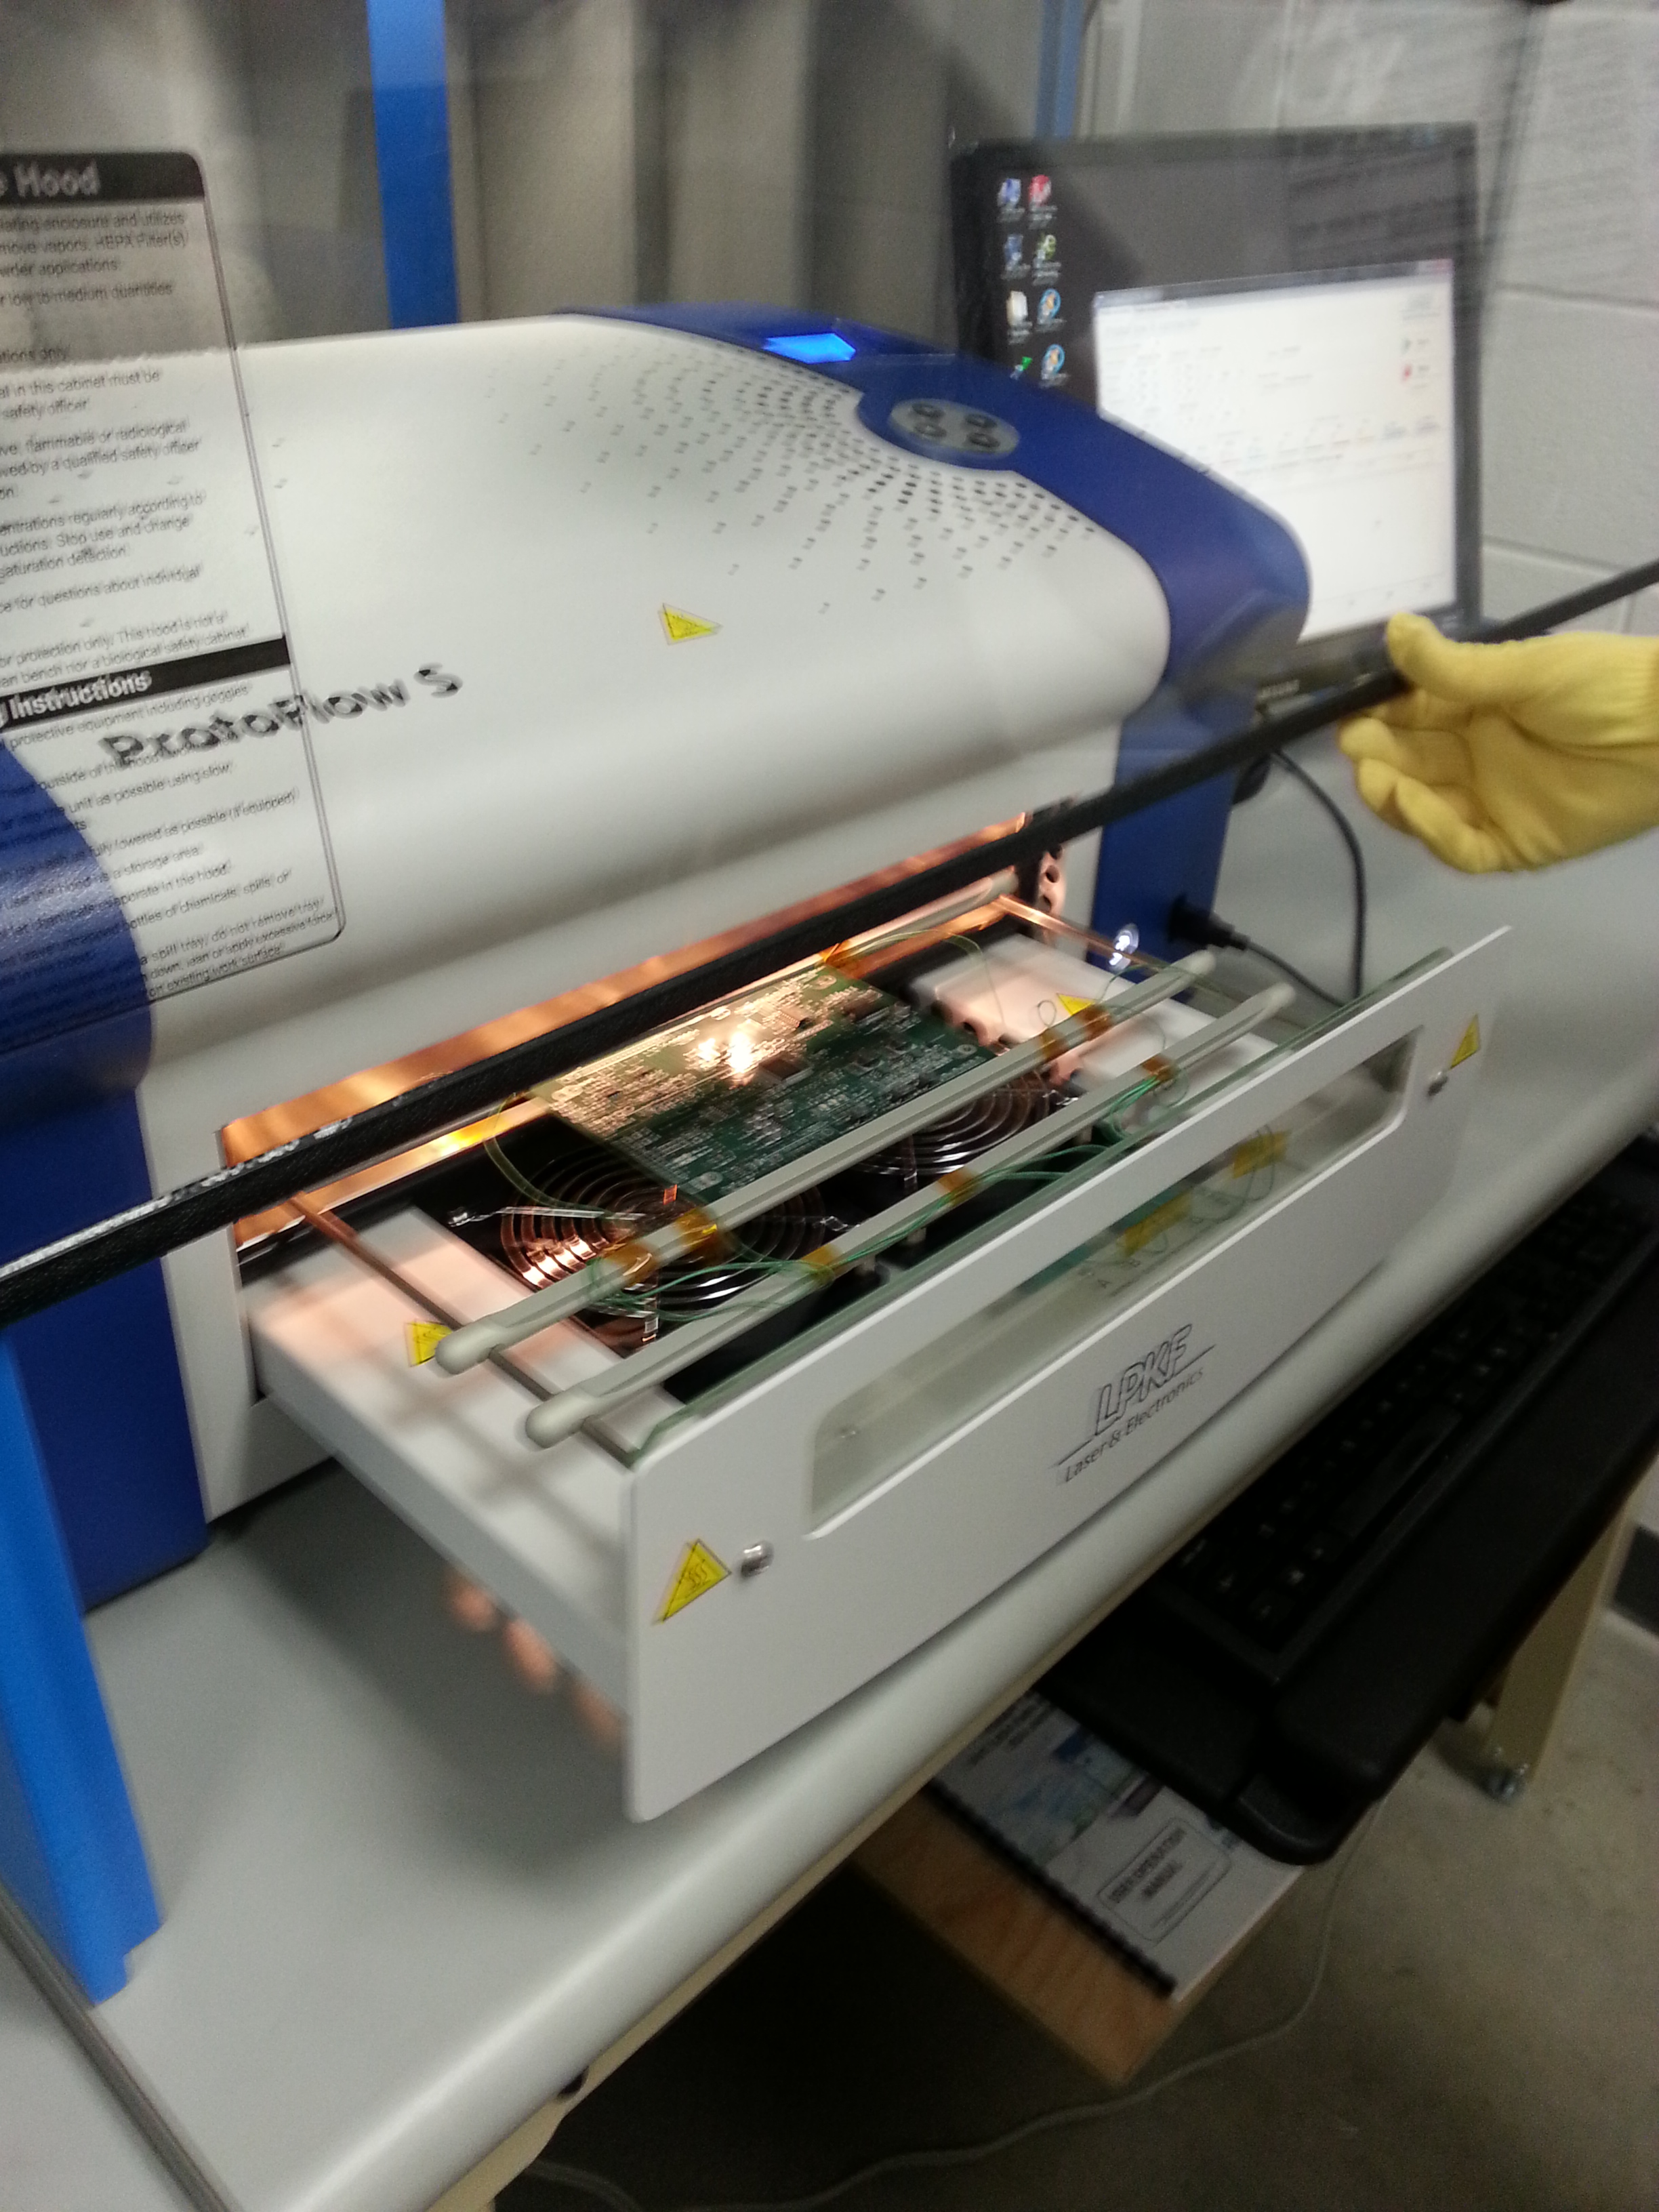
This oven is designed to heat the board evenly across its surface and activate the solder paste.
As expected the there were a few bridges on the CPU pins, but a bit of flux and rework solved that quite easily.
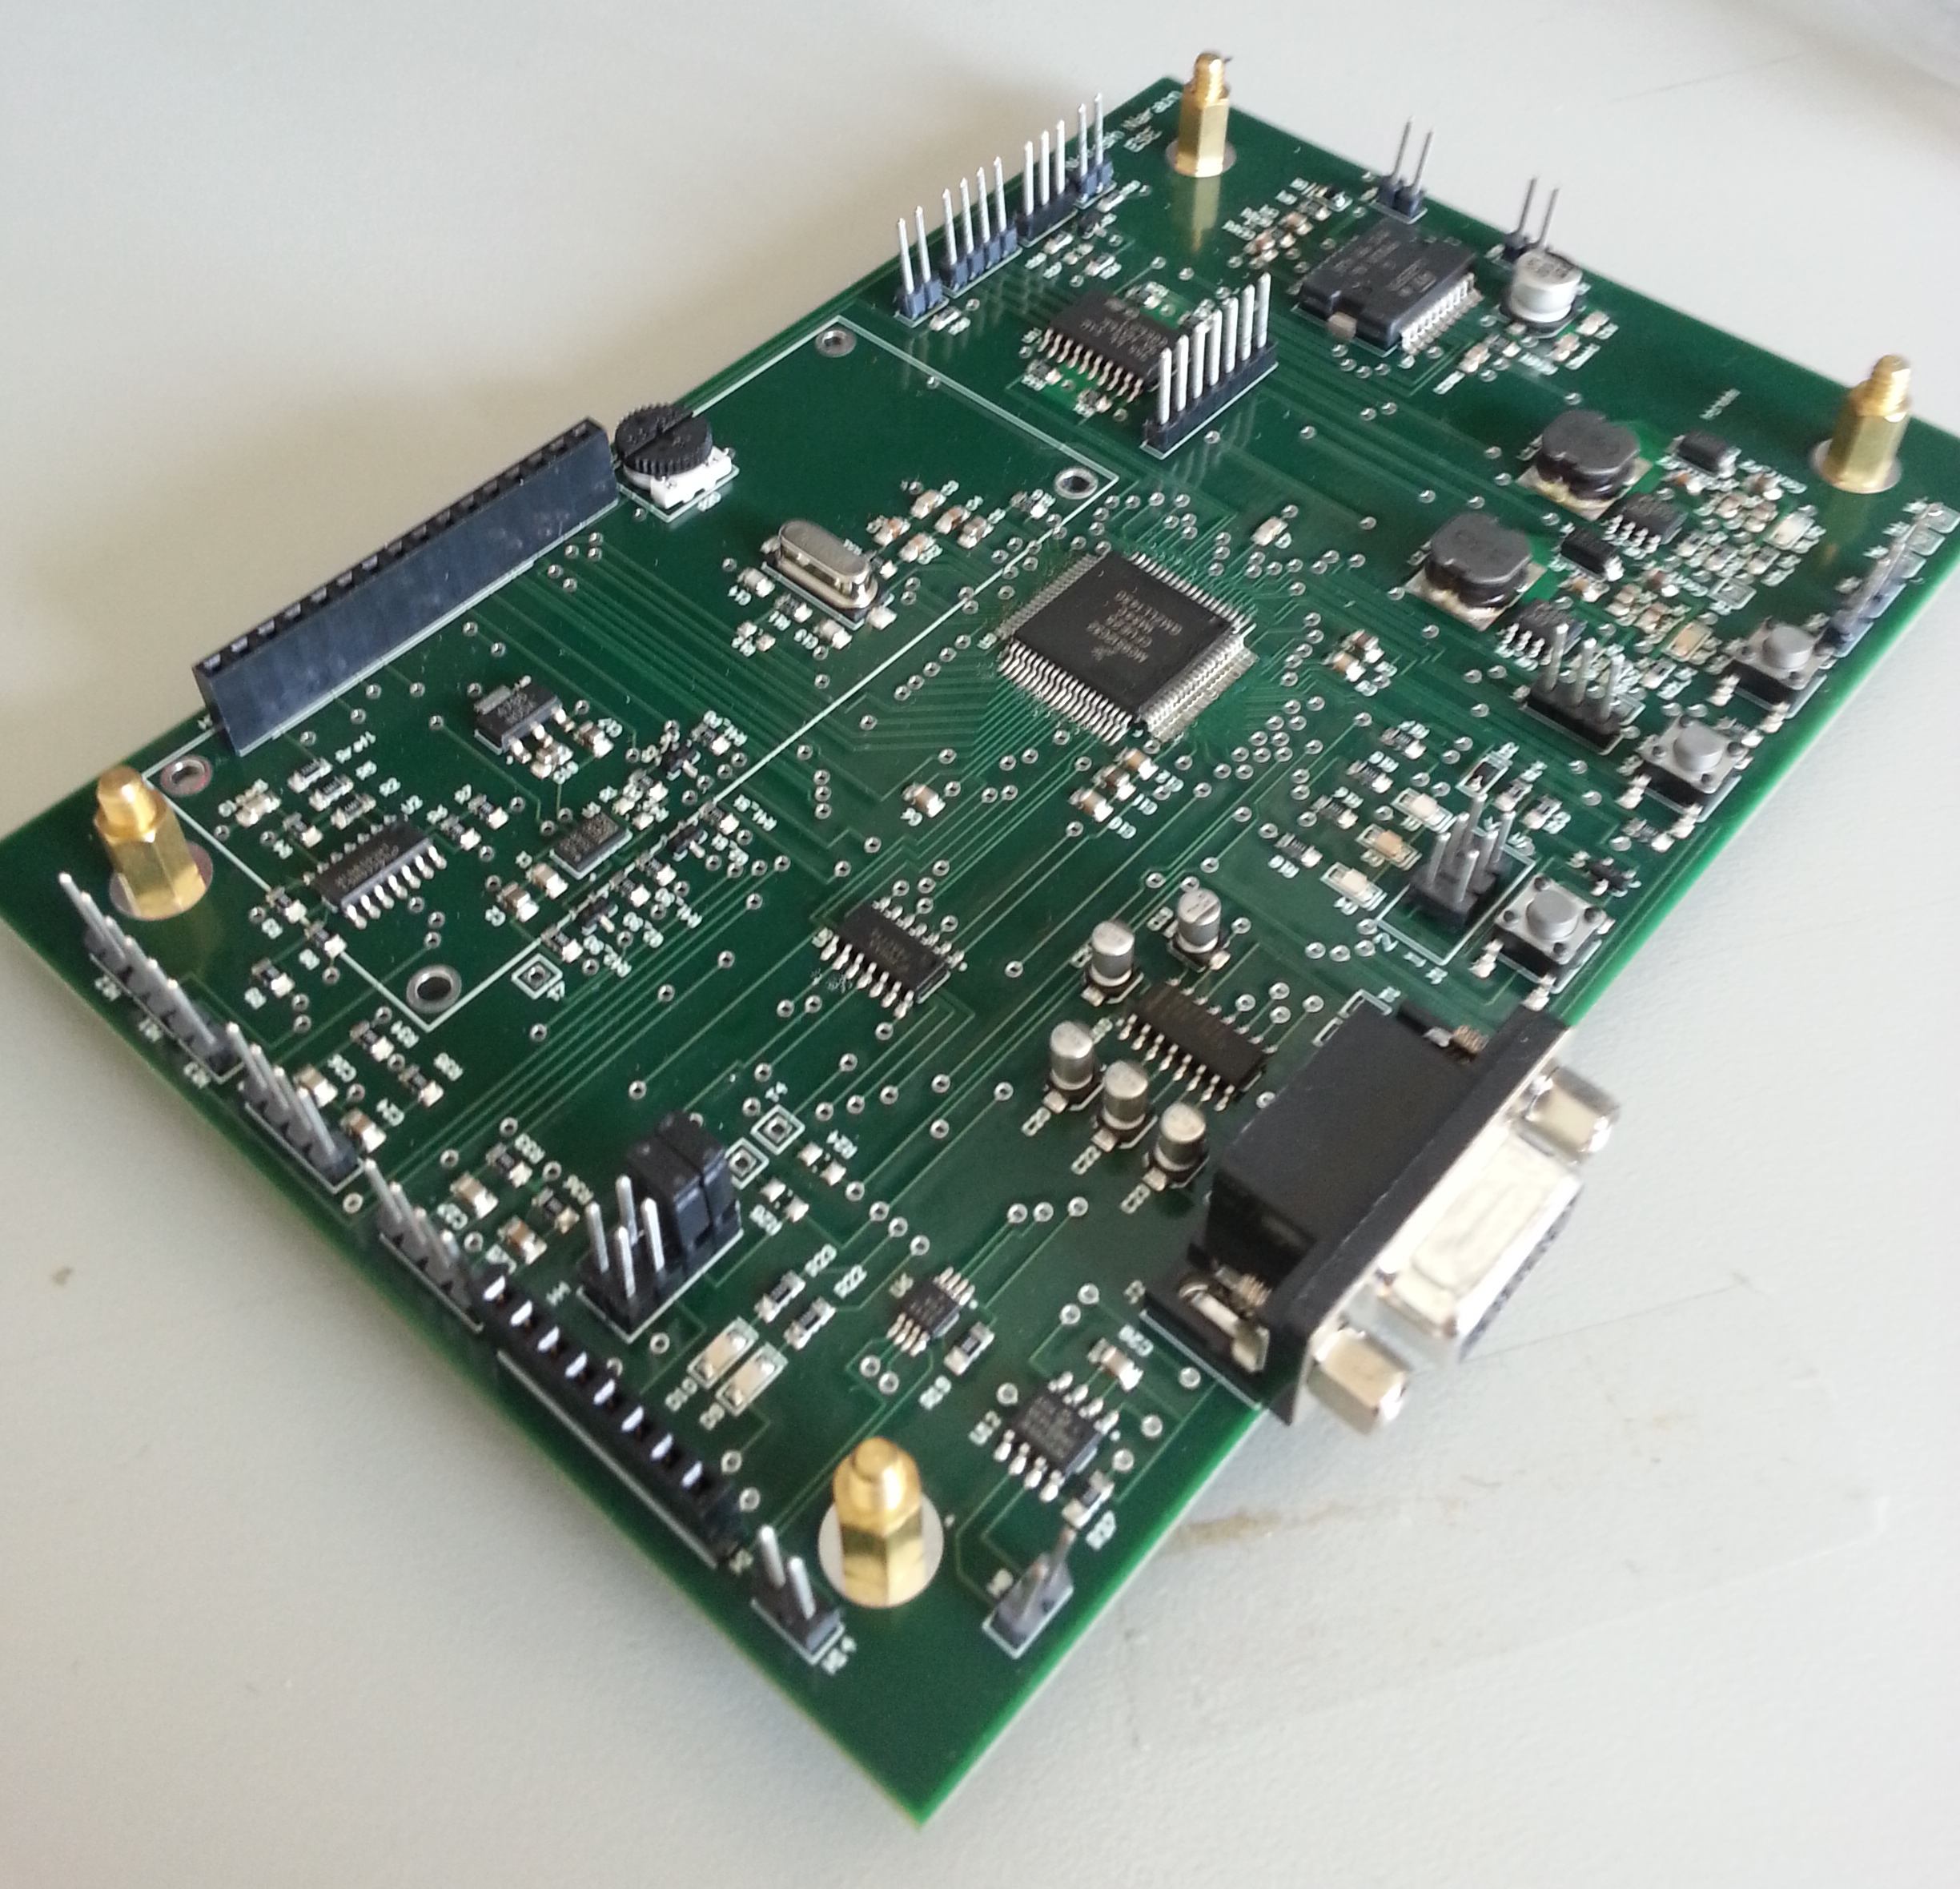
And here it is fully assembled :D