on
First large multi-part 3D model
I’ve been wanting to do builds like this for a while, but always kicked them down the road. Well, its the holidays and I have some time off, so I figured I’d give it a go.
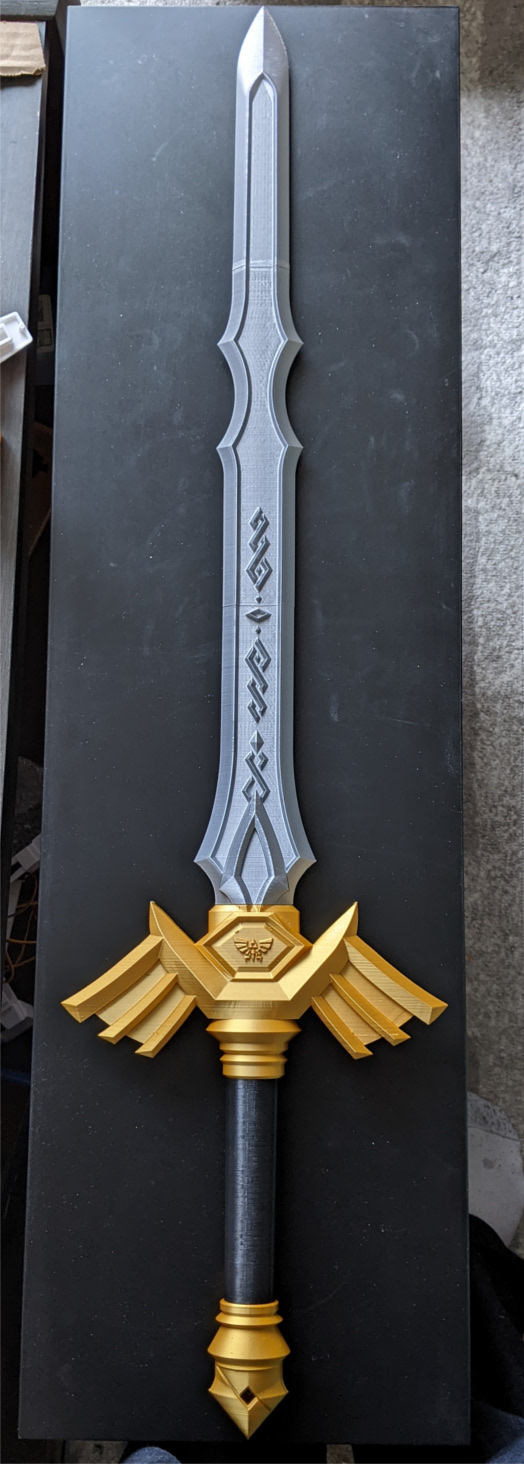
This is the Royal Broadsword of “Legend of Zelda: Breath of the Wild”.
Model source: https://www.thingiverse.com/thing:4411261
Getting the STLs Ready
You’ll see from the STLs on thingiverse the sword is cut up so the model can be 3D printed. I imagine the intention is to simply glue them together and paint. But I wanted to print each piece in it’s corresponding color and then glue to avoid painting (I’m not very good at that).
For example see the reference image:

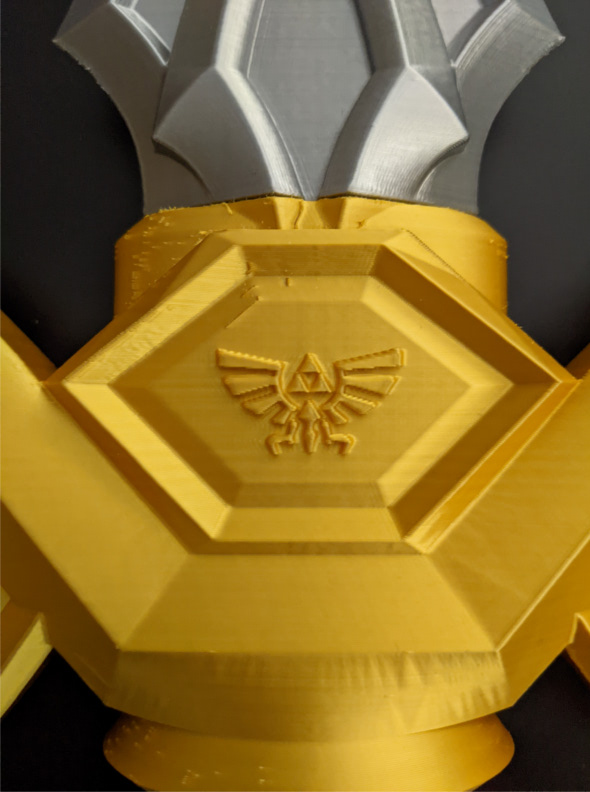
The pommel and hilt are gold, while the handle is purple and of course the blade is grey/silver. The first STL file on thingiverse is the pommel + handle + half the hilt. This means I have to split out the pieces I want into individual STL files.
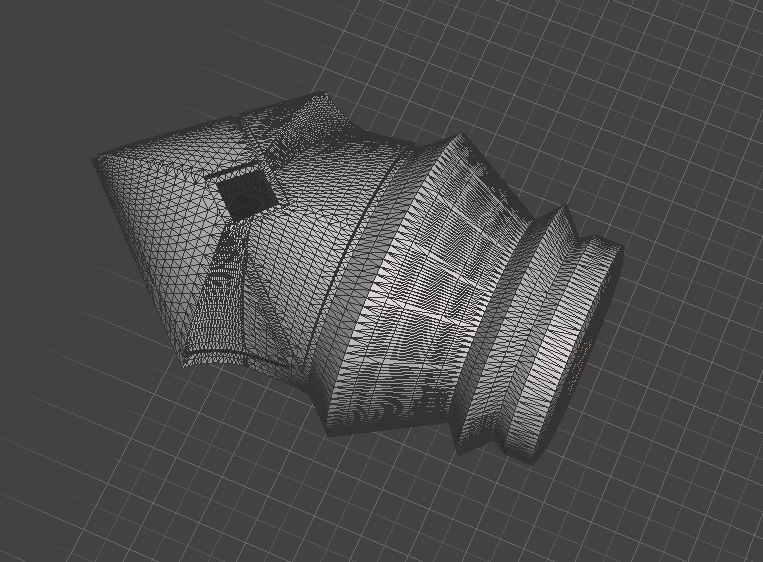
For this task I decided to use Meshmixer.
First I actually had to stitch the sword back together. Then split the pieces.
In Meshmixer, I can select the individual faces I want in the wire frame view and delete everything that is not selected.
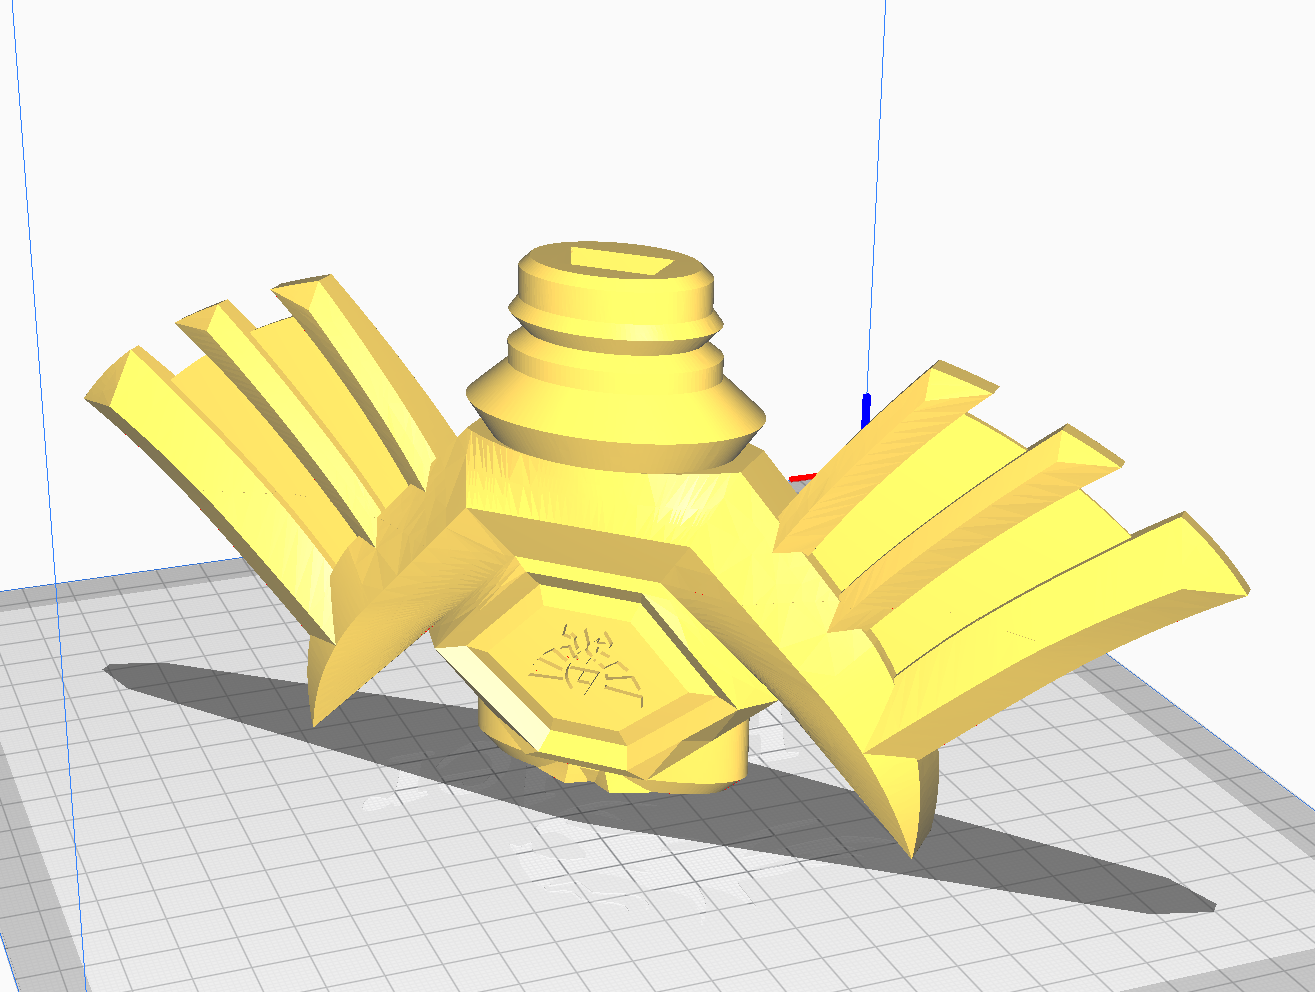
Here is the pommel cut out. This can be exported as its own STL file.
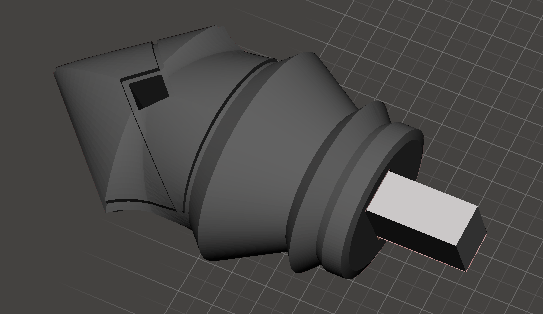
When it comes to joining the pieces together I still intended to use glue, but I added some alignment pins into the model to make this easier.
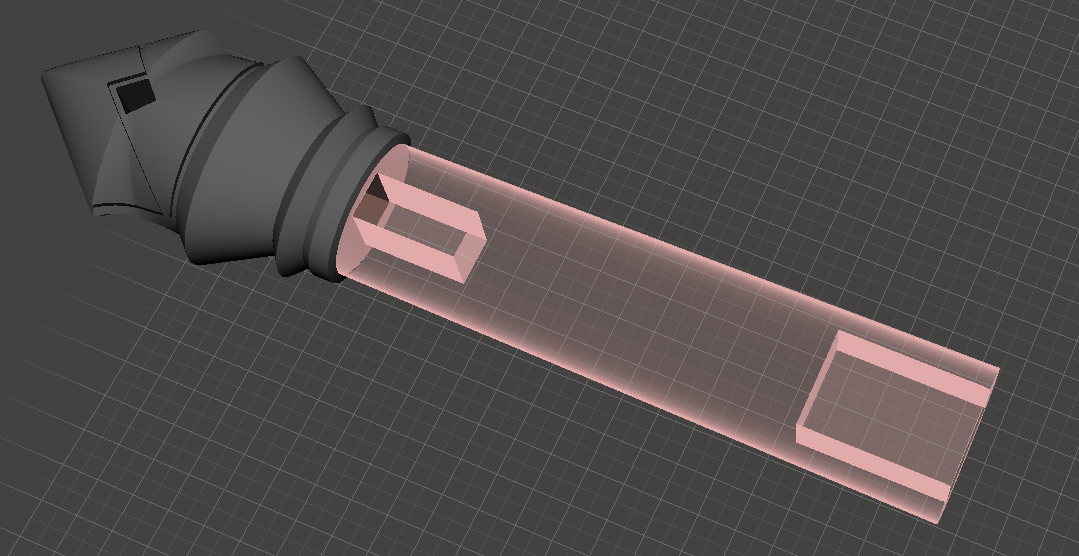
These are simply cube meshes that I subtracted from the model.
The “pin”, as I called it, are separately printed pieces and adds some structure to the overall build.
I followed a similar process for the other parts of the model.
Printing
All piece fit in my Ender 3’s print volume (the hilt being the largest but can be printed diagonally).
I had some issues with layer shifting while printing the hilt, but I sorted that out by tightening my belts and reducing the print speed as a precaution.
I think because of the long diagonal movement the vibrations from both the X and Y motors running at the same time was enough to cause the layer shift.
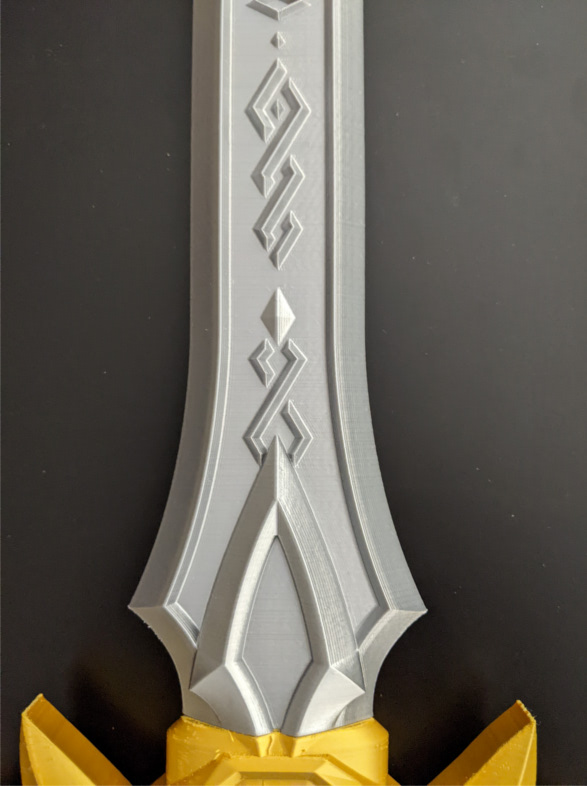
I was pretty happy with the detail the printer could do, and the only piece that needed supports was the hilt.
Assembly
Gorilla Glue… That’s about it. This stuff is surprisingly strong.
Future
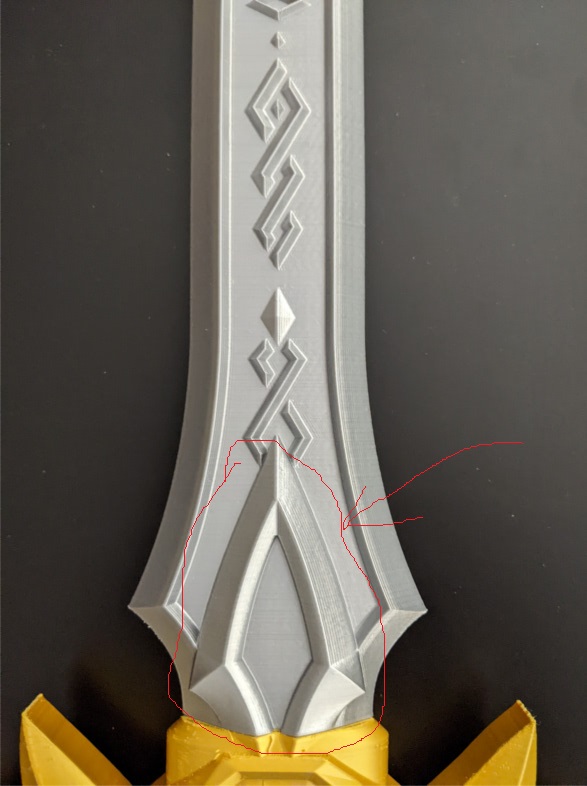
See this part of the model. It’s actually supposed to be gold like in the reference image. But I couldn’t quite figure out how to use Meshmixer to split that part out. I came close using plane cuts but it wasn’t looking right. Ultimately I think I have to import the model into Blender and do the editing there.
1 post references this page