Rust is a great modern programming language competing with the likes of system programming languages such as C++. I have done a couple of quick projects in Rust to get a feel for it and really liked what it had to offer.
To learn more I decided I needed to complete a larger project, so why not tackle a NES emulator.
nescore follows the example of GameboyCore (especially in the creative naming department..), being a library for emulating the NES and completely independent of the way a client wants to render the output. This enables NES emulation anywhere Rust can run such as a desktop SDL2.0 application, a libretro core or in a browser using Web Assembly.
Using nescore looks like the following:
use nescore::{Nes, Cartridge, Button};

fn main() {
    // Loading a ROM file into a representation
    let cart = Cartridge::from_path("/path/to/rom.nes").unwrap();
    // Creating an emulator instance with the cartridge
    let mut nes = Nes::default().with_cart(cart);

    // Pass input to the controller interface
    nes.input(Button::A, true);

    // Run the emulator for a full frame and recieve the video buffer
    let framebuffer = nes.emulate_frame();

    // Render the screen using GUI toolkit of choice
    // ...
}
The nescli package in the same repo contains some dev tooling I made to work with ROM file including an SDL2.0 application.
Thinking in Rust
This is something I haven’t really got the hang of yet, but started to pick up as I got through this project. Rust is NOT an object oriented language, so you wouldn’t necessarily design a program in it the way you would with C++. Rust has structs for defining datastructures, traits for defining interfaces and a number of features that emphasize the functional parts of the language.
When writing any particular part of the code in this project I really wanted to keep in mind what the input and outputs of the interfaces was going to be. For example the primary interface to nescore is the emulate_frame function which returns a video frame buffer, as opposed to the callback functions I used in GameboyCore.
In my coding recently, Rust or otherwise, I want to focus on the flow of data and unit testability.
General Architecture
The user interacts with two things when dealing with their NES system. The system itself, through the controller, and the cartridge of the game they want to play.
So the defined the following data structures:
- Cartridge - Represents the ROM file to use
- Nes - Represents the NES system
The Cartridge can be created by providing a path to a ROM file to load. A .nes file (in the format INES or NES2.0) contains the cartridge metadata, the program ROM and the character ROM (tile patterns). The flow of data is:
path -> file object -> bytes from ROM -> (cartridge header, program ROM, character ROM) -> Cartridge
Now the Nes can exist independent of the Cartridge, so the Default trait is derived. However to make use of the loaded Cartridge it must be inserted in the Nes instance. This consumes the Cartridge.
let cart = Cartridge::from_path("/path/to/rom").unwrap();

let mut nes = Nes::default();
nes.insert(cart);
Using the builder pattern (very common in Rust), this is simplified to:
let cart = Cartridge::from_path("/path/to/rom").unwrap();

let mut nes = Nes::default().with_cart(cart);
Cartridge -> Nes
So that’s what the external interface looks like, what about the internals?
The NES has four primary components to deal with:
- CPU - Central Processing Unit
- PPU - Picture Processing Unit
- APU - Audio Processing Unit
- Mapper - Handles memory bank swapping
Physically, these components would be on a 8 bit bus with memory mapped registers. In software, each component has a corresponding bus data structure that holds references to each client and implements the trait IoAccess.
/// Access a memory mapped component
pub trait IoAccess {
    fn read_byte(&self, addr: u16) -> u8;
    fn write_byte(&mut self, addr: u16, data: u8);
    fn raise_interrupt(&mut self, interrupt_type: Interrupt);
}
This interfaces allows reading and writing bytes to and from a 16 bit address. Also it allows raising interrupts in another component. Specifically, the PPU raises a NMI interrupt in the CPU and the APU raises an IRQ interrupt in the CPU.
And an example of the CPU’s IO bus structure (More or less the actual code with somethings removed for simplification):
impl IoAccess for CpuIoBus {
    fn read_byte(&self, addr: u16) -> u8 {
        match addr {
            0x0000..=0x1FFF => self.ram[addr],
            0x2000..=0x3FFF => self.ppu.read_byte(addr), // Also implements `IoAccess`
            0x4000..=0x4013 => self.apu.read_byte(addr), // Also implements `IoAccess`
            0x4015 =>          self.apu.read_byte(addr), // Also implements `IoAccess`
            0x4016 | 0x4017 => self.joy.read_byte(addr), // Also implements `IoAccess`
            0x4020..=0xFFFF => self.mapper.read(addr),   // Also implements `IoAccess`
            _ => 0,
        }
    }
}

    ...

struct Cpu {
    bus: CpuIoBus,
}

fn do_thing(&self) {
    let byte = self.bus.read_byte(0xFFFF);
    ...
}
The CPU can access memory mapped IO from each component using the IoAccess trait.
The point of the bus is to abstract where the bytes are coming from or going to. This makes it easier to unit the different components as they are not coupled together.
The PPU and the APU are handled similarly to the CPU.
Synchronization
In addition to the IoAcess each component implements the trait Clockable. This provides the function tick and is what the NES uses to provide clock ticks to the CPU, PPU and APU. I don’t have a cycle accurate emulator yet, but using this interfaces ensure I can implement one in the future.
Where to start when building an Emulator?
Before anything else can really happen, you need to have a rock solid CPU implementation. In nescore I started with a CPU struct and wrote basic unit tests for it. Rust with cargo has unit test support built in, so there are really no excuses to not be writing unit tests in Rust.
Example of a simple CPU unit test and boilerplate functions:
// A test for LDA in immediate addressing mode
#[test]
fn lda_immediate() {
    // 2 byte program using LDA
    let prg = vec![
        0xA9, 0xA5 // LDA $A5
    ];

    // Run the test program by clocking 2 cycles
    let cpu = simple_test(prg, 2);

    assert_eq!(cpu.a, 0xA5);
}

...

// Initialize the CPU with the test program and run for the desired number of ticks
pub fn simple_test<'a>(prg: Vec<u8>, ticks: usize) -> Cpu<FakeBus> {
    let mut cpu = init_cpu(prg);
    cpu.p = 0x00;

    run_cpu(&mut cpu, ticks);

    cpu
}

// Create a CPU instance with a mock bus
pub fn init_cpu(prg: Vec<u8>) -> Cpu<FakeBus> {
    let bus = FakeBus::from(prg);
    let mut cpu: Cpu<FakeBus> = Cpu::default();
    cpu.load_bus(bus);
    cpu
}

// Run the CPU for the desired number of ticks
pub fn run_cpu(cpu: &mut Cpu<FakeBus>, ticks: usize) {
    // Tick CPU once to exit Reset state
    cpu.tick();

    // Tick CPU the expect number of times
    for _ in 0..ticks {
        cpu.tick();
    }
}
Every individual test was a small program to just verify the behavior of a single opcode, in this case it LDA in immediate addressing mode. The CPU is initialized with a mock bus and clocked for the specified number of times. The mock bus allows the CPU to be tested independent of specific mappers and the ticks test cycle accuracy for opcodes.
Now I did not test every instruction/address combination. The nesdev community has a huge variety of ROM tests I wanted to leverage. CPU ROM tests validate all the vital behaviour. What I did was unit test my CPU code to build basic confidence that is could run simple programs and then automated the ROM tests by running them as integration tests. This way when I got a test working, its “locked” in and will catch future regressions.
The best NES ROM test to start off with is probably nestest. This is actually simple to automate, since the author provided a log with the expected output. And from the log file the ROM test ends at address $C66E. To execute the test, run the CPU to that address.
This ROM test also places the result bytes at addresses $02 and $03 for official opcodes and unofficial opcodes respectively, making it trivial to check for errors.
#[test]
fn nestest() {
    let cart = Cartridge::from_path("tests/roms/nestest/nestest.nes").unwrap();

    // Set the CPU entry point to $C000 for nestest "automation" mode
    let mut nes = Nes::default().with_cart(cart).entry(0xC000).debug_mode(true);
    // According to nestest logs the test ends at $C66E
    nes.run_until(0xC66E);

    // Fetch error codes
    let official_opcode_result = nes.read_cpu_ram(0x02);
    let unofficial_opcode_result = nes.read_cpu_ram(0x03);

    assert_eq!(official_opcode_result, 0, "Official opcodes exited with code ${:02X}", official_opcode_result);
    assert_eq!(unofficial_opcode_result, 0, "Unofficial opcodes exited with code ${:02X}", unofficial_opcode_result);
}
Clearing nestest should clear the way to working on the PPU.
Generating Picture Output
I’m not going to go into details about how I implemented the PPU since this is already well documented in the nesdev wiki. But there are a couple key points to address:
Scroll using v and t registers
Games like Donkey Kong only use a single nametable and do not do any complicated scrolling. If you were to just render the first nametable you would probably just the right output with or without taking scroll into account. However, the internal registers v and t must be implemented to achieve for complicated graphical effects.
This was a fun bug while implementing correct scrolling with v and t internal registers.
Fixed:
Nametables
For whatever reason I found this kind of tricky. What is important to remember is that is actually 4k of memory for nametables however the mirroring type defines how that is accessed.
If the cartridge has four screen mode enabled, mirroring is disabled (meaning all four nametable can be used by the game). If the mirroring type is set to either Horizontal or Vertical, logically only 2 nametables are in use: The first 0k offset into the nametable buffer and the second 1k offset.
For example in Vertical mirroring mode:
Addresses: $2000-$23FF and $2800-$2BFF map to the same nametable (the first logical table). Addresses: $2400-$27FF and $2C00-$2FFF map the same nametable (the second logical table).
This is important for games like “The Legend of Zelda” that do some fancy nametable manipulation to implement scrolling through the map.
Testing
Also I’d like to emphasize the use of unit testing here too. In GameboyCore I didn’t have any graphics tests, so unit testing the PPU was a big step up.
For each test I’d configure the PPU through the memory mapped IO and run it for the necessary amount of clock ticks to generate the desired pixel.
Here’s an example for generating the first pixel in the first scanline:
#[test]
fn render_one_pixel() {
    let mut ppu = init_ppu();

    // background rendering
    let mut mask = PpuMask::default();
    mask.background_enabled = true;
    mask.show_background_left = true;

    ppu.write_byte(0x2001, mask.value());

    // Clear scroll
    ppu.write_byte(0x2005, 0);
    ppu.write_byte(0x2005, 0);

    // Write pattern into pattern table
    ppu.write_vram(0x0010, 0x80);
    ppu.write_vram(0x0018, 0x00);

    // Write into nametable
    ppu.write_vram(0x2000, 0x01);
    // Write attribute - Top Left - Background Palette 1
    ppu.write_vram(0x23C0, 0x01);
    // Set first color in Background Palette 1
    ppu.write_vram(0x3F05, 0x01);

    // Run the PPU for the pre-render scanline
    for _ in 0..CYCLES_PER_SCANLINE {
        let pixel = ppu.tick();
        assert!(pixel.is_none());
    }

    // The first tick of the visible scanline should have a pixel
    let pixel = ppu.tick();
    assert!(pixel.is_some());

    // The color of the pixel should be the index one of the color table
    let color = pixel.unwrap();
    assert_eq!(color, helpers::color_to_pixel(COLOR_INDEX_TO_RGB[0x01]), "Color was: RGB{:?}", color);
}
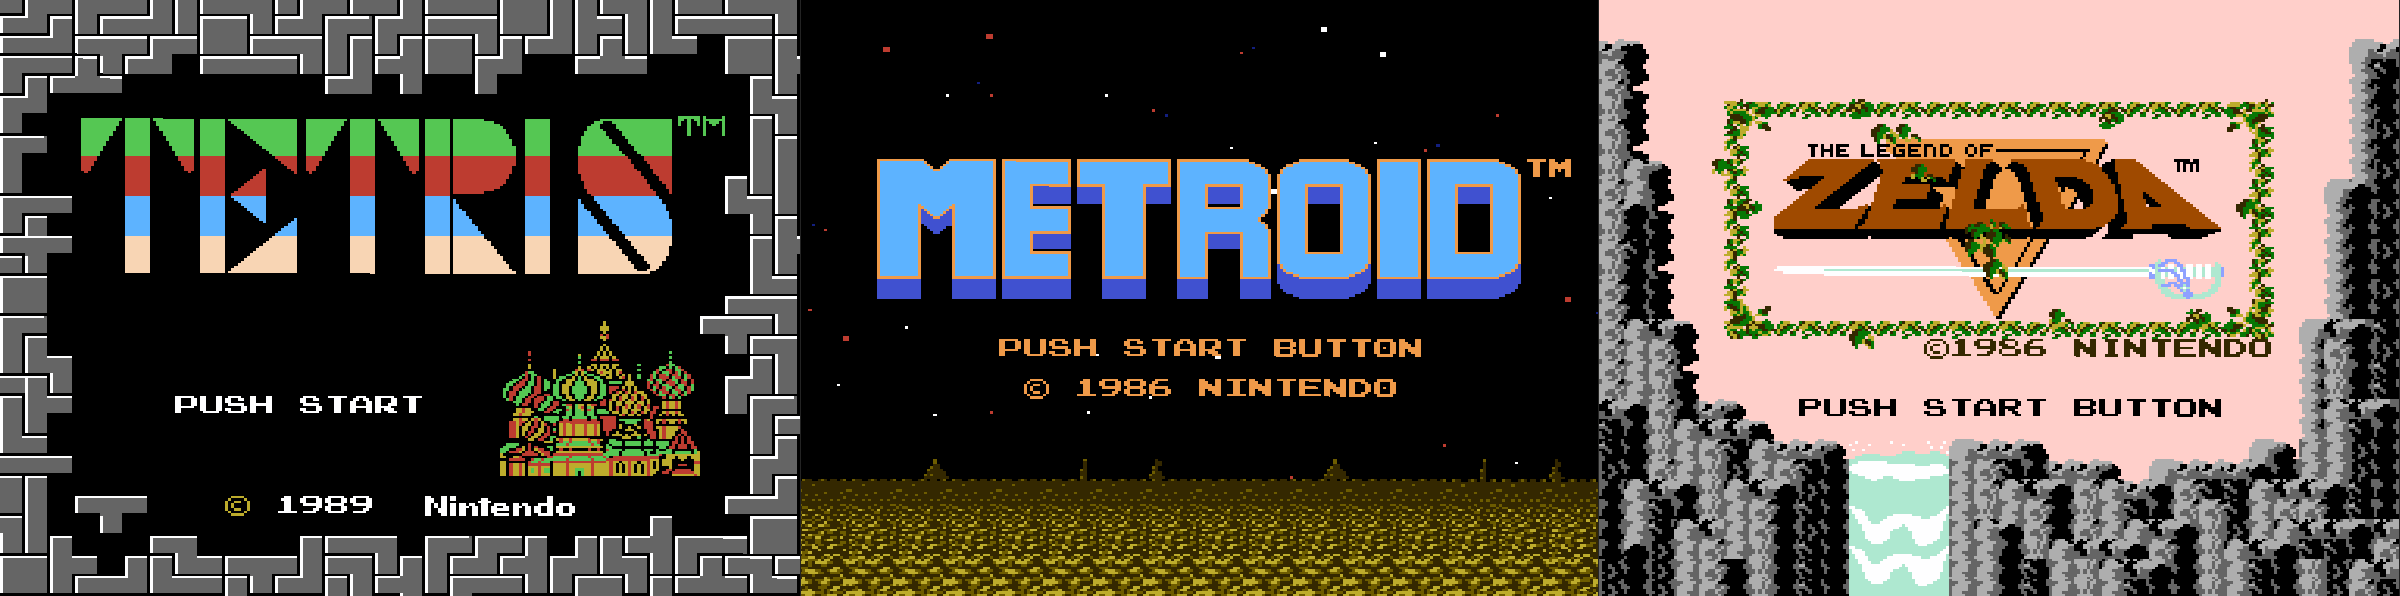
Some final results:
Audio Output
The APU is composed of 5 sound channels: 2 Pulse channels, a triangle channel, a noise channel and the DMC channel (sample playback unit). There is also a frame sequencer (aka frame counter) that manages clocking the individual units.
Each sound channel, along with the frame sequencer, implements the Clockable trait and is clocked accordingly in the APU’s tick function. For example each tick of the Pulse channel advances the square waveform it generates. This approach allows each sound channel to be developed independently and unit tests before mixing the final outputs.
Final APU output is mixed using the linear approximation method.
Now this results in 1 audio sample per APU tick. That is 895,000 samples in a second. This is much higher than a typical computers audio playback rate! Meaning the generated audio from the APU needs to be down sampled into playable audio for the host system.
This is easily done by sampling the APU audio using the ratio between the APU output rate and the host system audio rate.
For example:
host rate = 44100
apu rate = 895000

ratio = apu rate / host rate
      = ~20
Therefore if you were to sample every 20 values from the APU audio stream you would have successfully down sampled the audio to the host playback rate.
I added a down sampling helper class to nescore to do this:
#[derive(Debug)]
pub struct DownSampler {
    buffer: Vec<Sample>,
    rate: usize,
}

impl DownSampler {
    pub fn new(buffer: Vec<Sample>, input_rate: f32, output_rate: f32) -> Self {
        DownSampler {
            buffer,
            rate: (input_rate / output_rate) as usize,
        }
    }
}

impl IntoIterator for DownSampler {
    type Item = Sample;
    type IntoIter = std::iter::StepBy<std::vec::IntoIter<Sample>>;

    fn into_iter(self) -> Self::IntoIter {
        self.buffer.into_iter().step_by(self.rate)
    }
}
This is probably the easiest down sampling method. You could also average the samples in a given window.
Future Work
Edited: Oct 12, 2020
I still have several things to complete with this emulator:
Audio is a must- Performance optimizations and refactoring CPU/PPU/APU synchronization
- Instruction timing
Also I’d like to put together an actual web assembly demo and host it on Github Pages.