Continuing off my recent motivation to finally build a robot with my irobot create 2, this weekend I worked on the battery mounting solution.
I was debating if this was worthy of it’s own post, however, it’s something that I got stuck on a while back, so I figured why not.
The Problem
Ok so what is the issue exactly?
Well the iRobot Create 2 isn’t exactly ready to use out of the box. I got this robot from work, so it’s what I have. But in general I’ve had some issues with it. You are kind of just expect to figure out the best way to mount things to it. And if you want to mount a raspberry pi to it you automatically require a second battery.
Obviously these are solveable problems, but I get a sort of decision paralysis and here we are years later with the same problem.
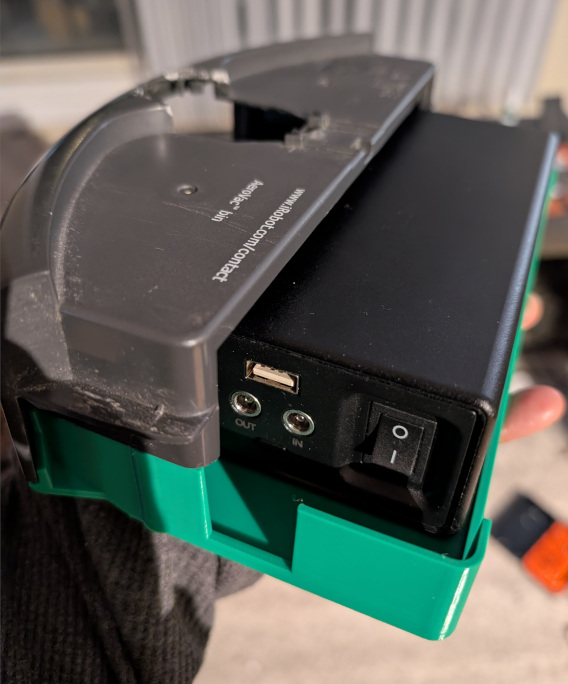
So I want to use ROS to control this robot. Naturally I’ve gravitated to my existing Raspberry Pi 5 for that task. The Pi 5 requires 5V @ 5A with a tight tolerance to operate.
Now I get LiPo batteries make sense, I always kinda worried about charging them properly.
Either way it’s not going to be a small battery and it’s going to have to be mounted to the robot somehow, which opens more questions.
Mounting Options
The battery can either be mounted on the robot or in the robot. Either is possible obviously. Though I feel on top takes a lot of space and then you have to mount conponents around it.
To mount the battery on the inside of the robot it can be placed inside the dust bin. However the dust bin is fairly small.
Luckily there are some STLs available online for larger dust bins.
The Solution
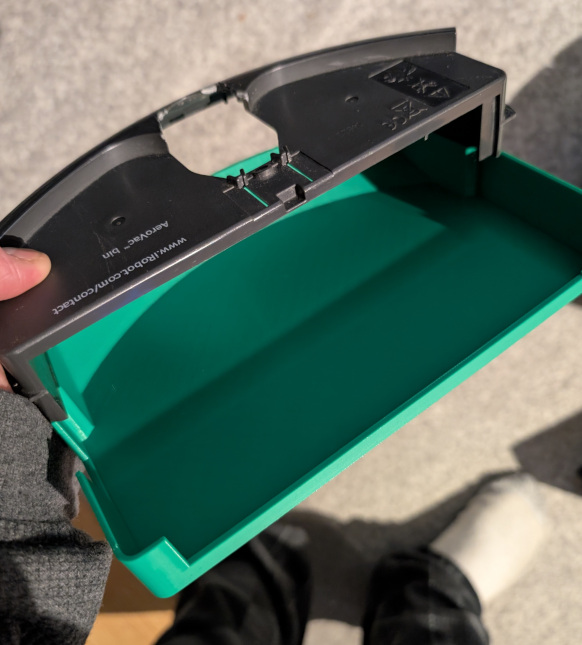
Use an available bin stl files, modified as needed to fit the battery.
I started with this STL file from thingyverse
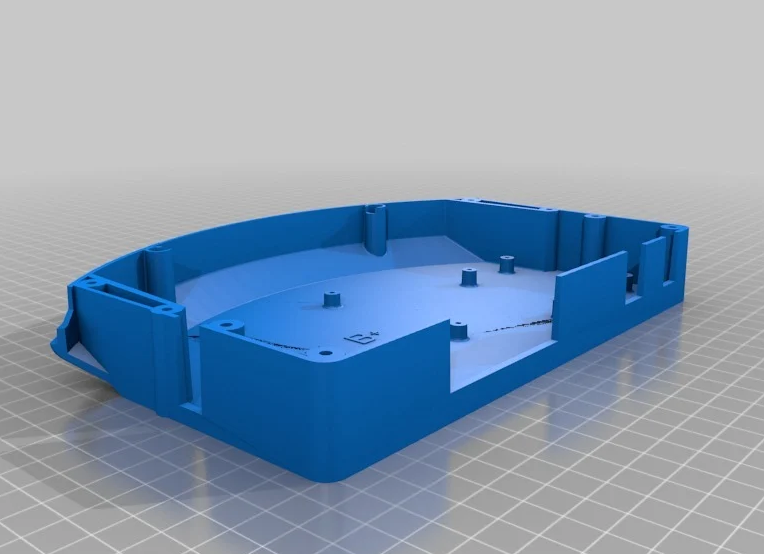
An issue with this model, for my use case, is it has there studs/bosses on it. I just want an empty bin, so I had to remove them.
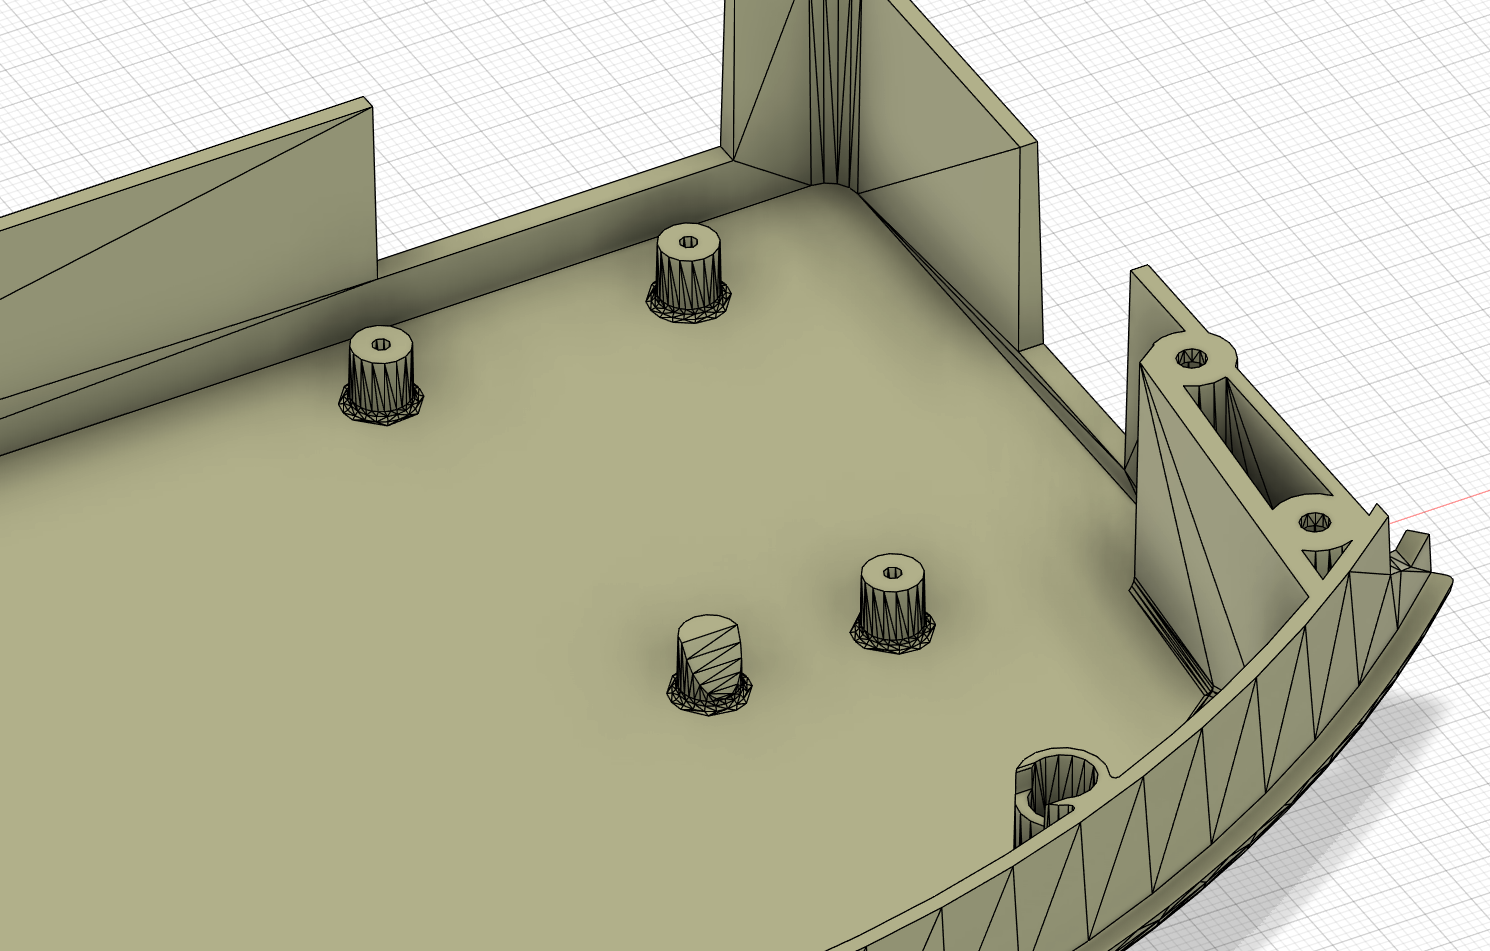
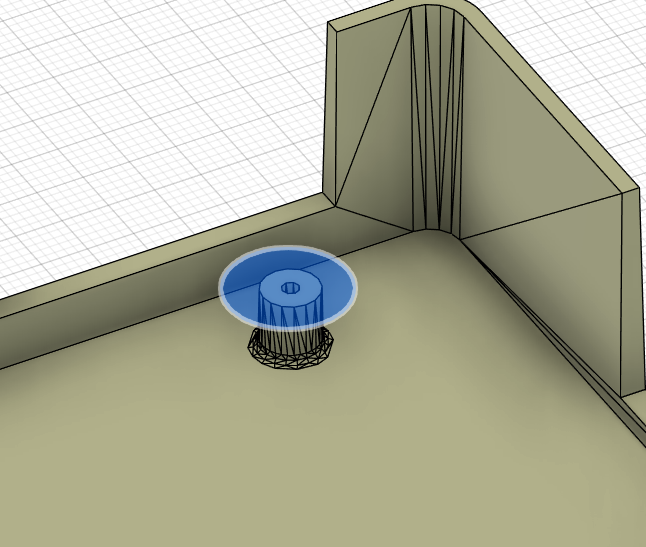
To briefly explain how I did this:
- create a construction plane at the top of each boss
- sketch a circle around a boss
- cut down to the bin bottom surface
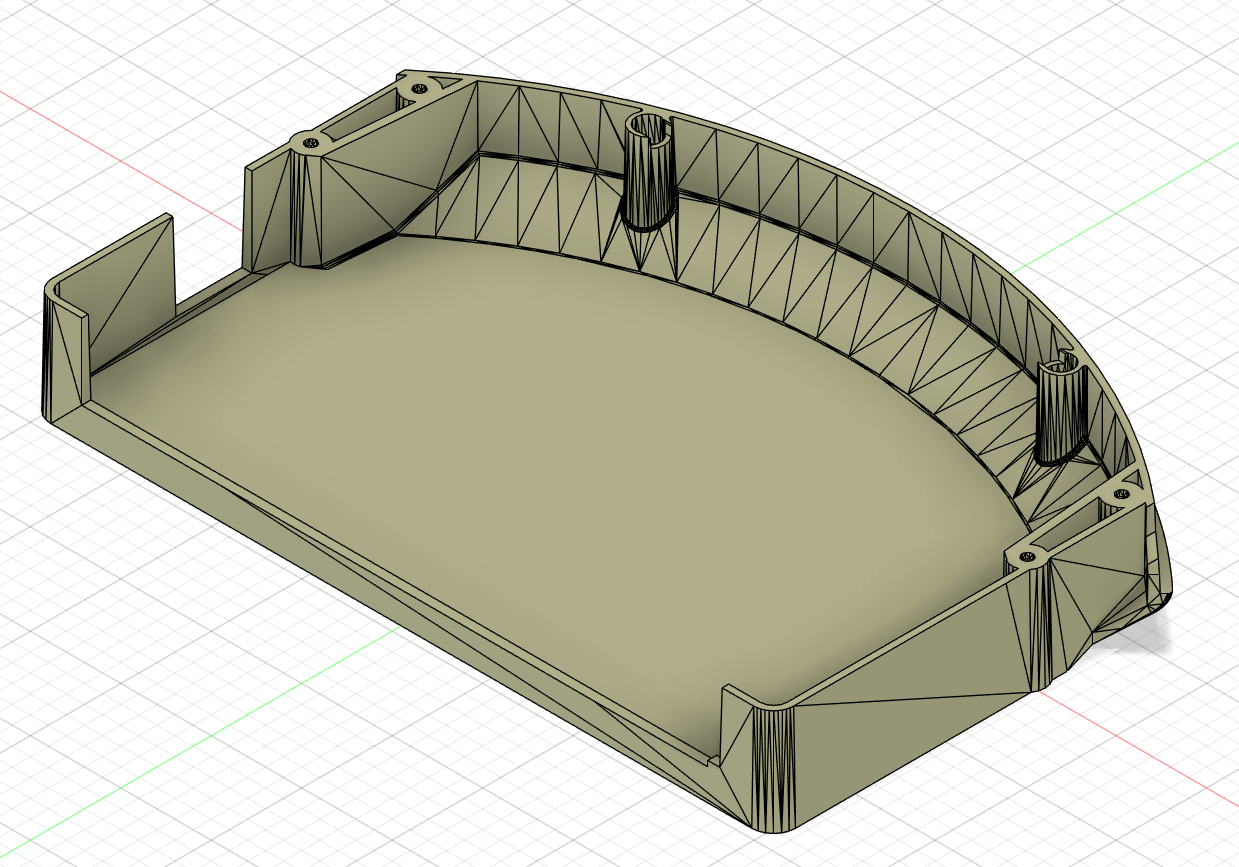
The cleaned up bin model
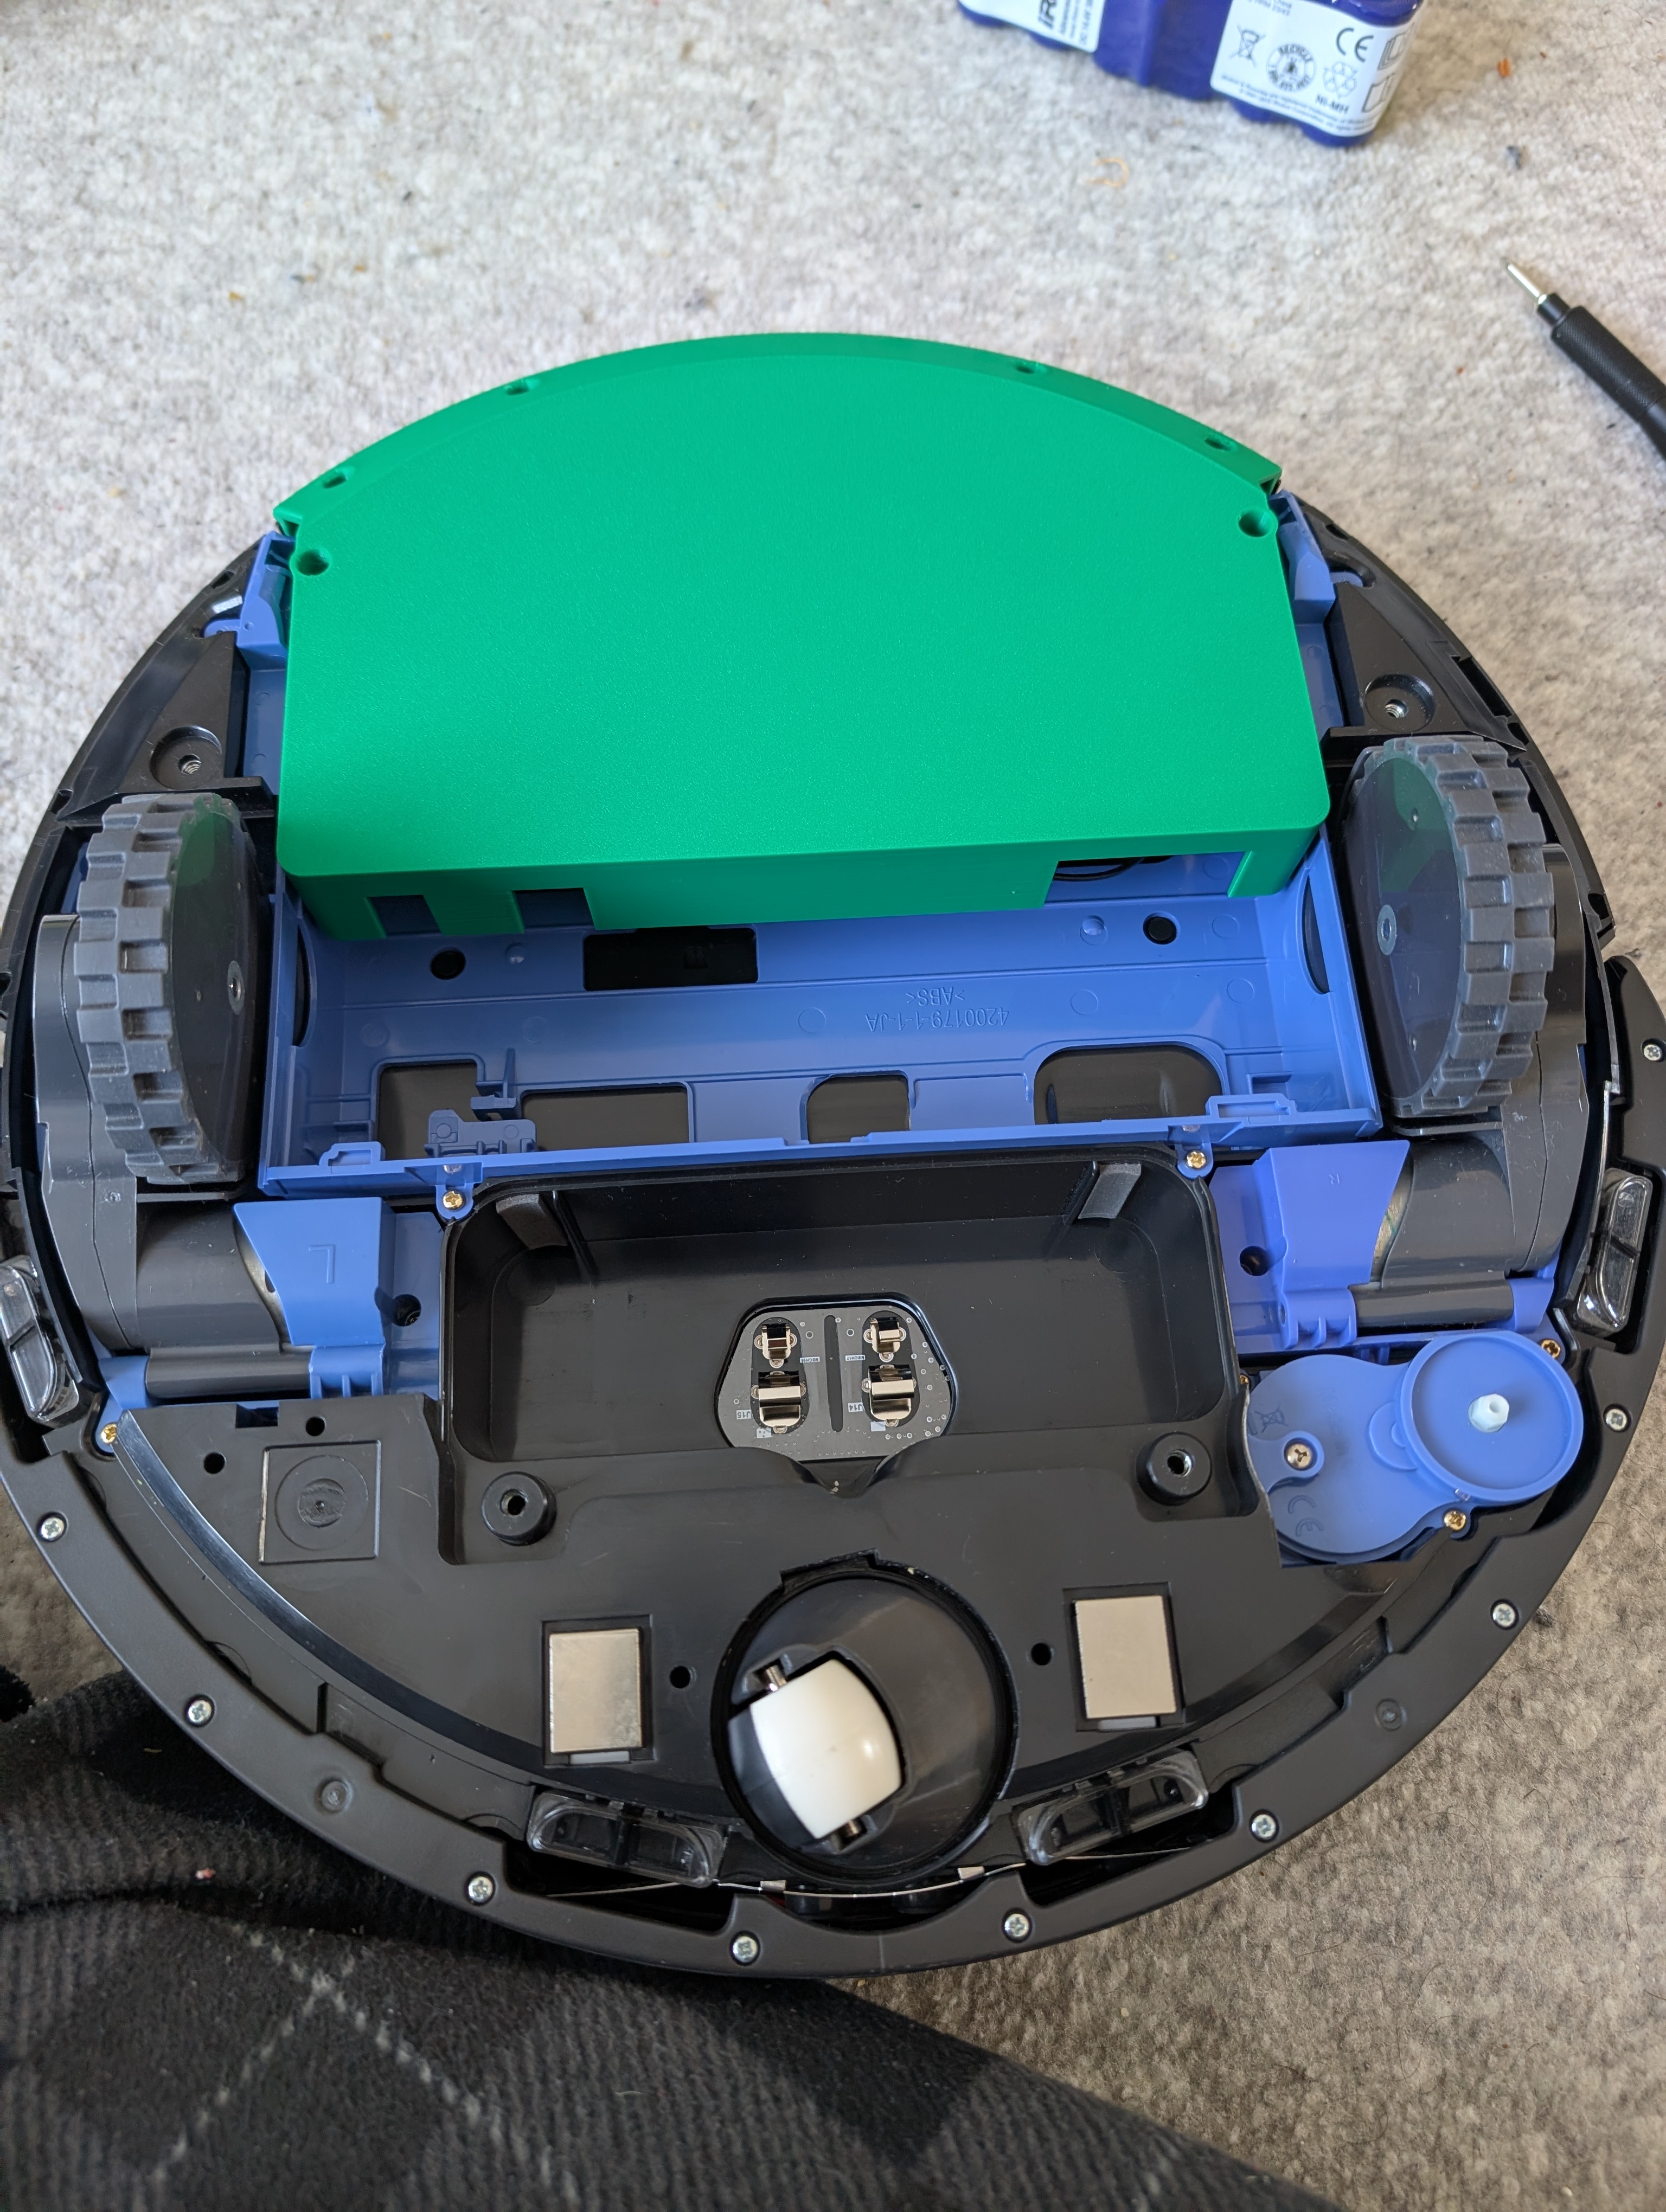
The bin mounts to the top of the dust bin like so
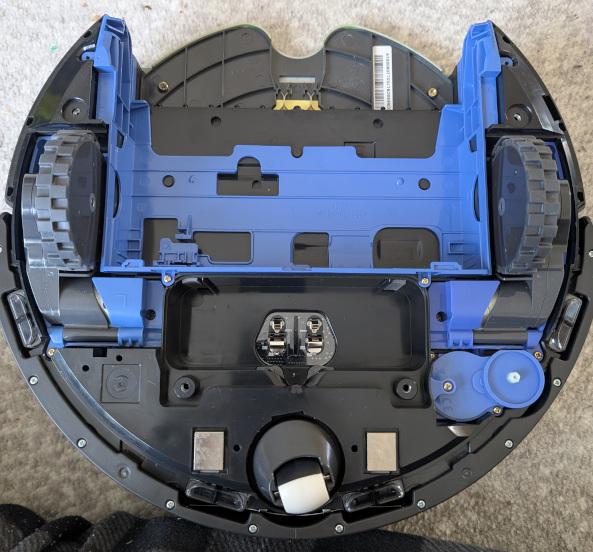
Installing the bin
To install the bin, the dust.. shaker?.. needs to be removed.
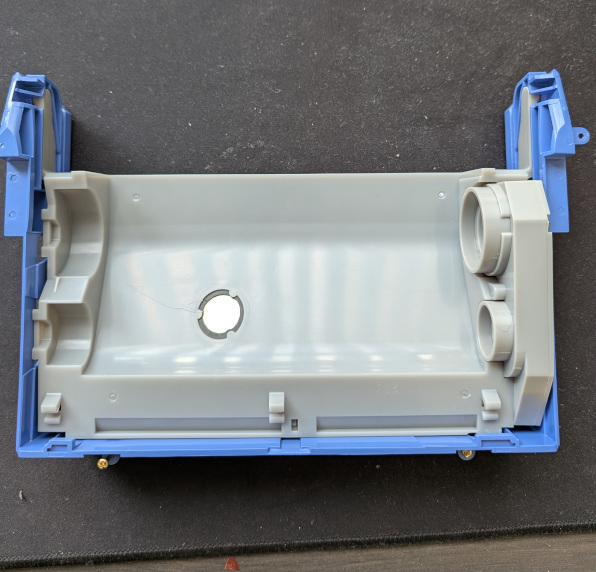
For whatever reason the model author didn’t make the stl as big as it could be. But it’s fine for my use case at the moment.
Next Steps
Power distribution.