I’ve been thinking about putting a robot project together using my iRobot as the mobile base. A tad over due but better late then never.
Starting from the ground up I need to figure out how to mount components to the top of the robot. I have made some attempts at this before and 3d printed some parts to mount a raspberry pi. I felt this was not the best option as it is not extendable to other parts.
I recently got into the openGrid and underware ecosystems for organization and thought: “why not apply this to a robot?”.
I had a handful of extra openGrid plates, and arranged them on the iRobot to get a feel for how many I would need. Then I sketched out the mounting patten.
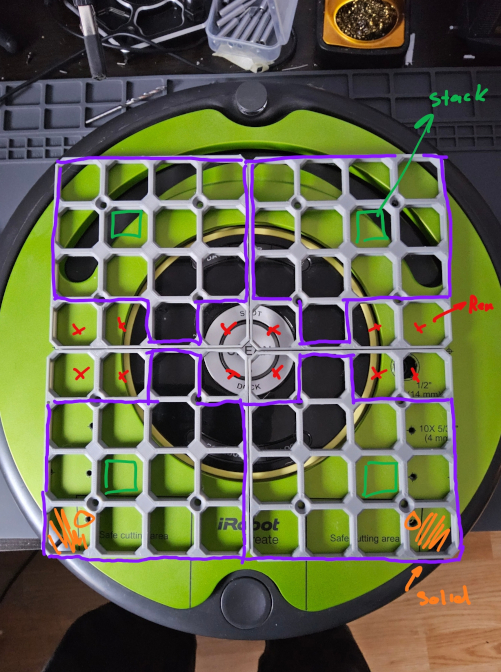
I needed to make room for the power button and the serial connector so marks some of the grid cells to cut away. I also marked where to add screw holes to the base plate for mounting to the chassis.
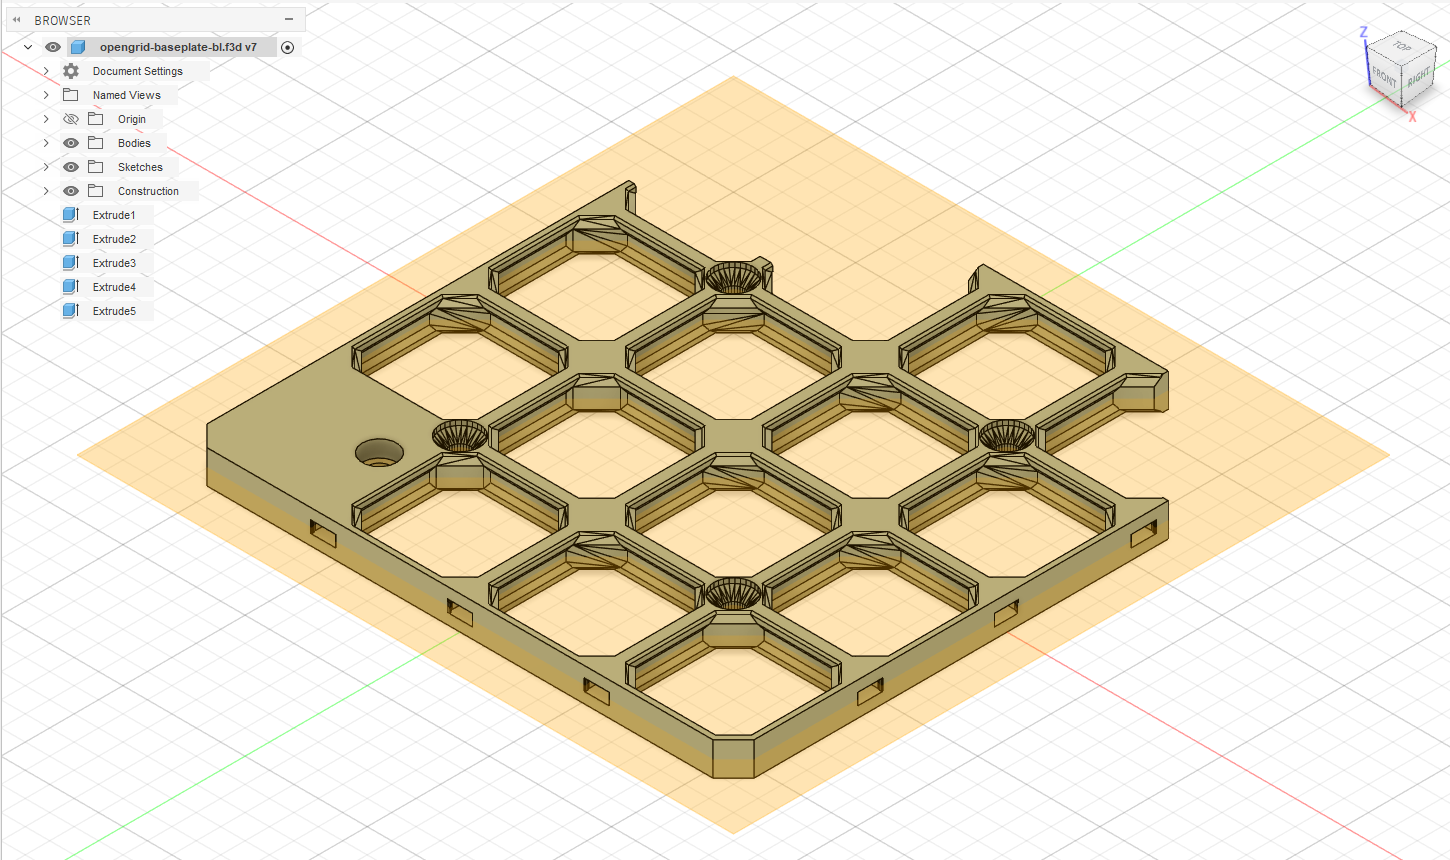
Now to edit the model I wanted to use Autodesk Fusion. You can import STL files into Fusion and operate on them as meshes. However it is more preferable to edit as solid geometry. Fusion can convert the model, however it will have a lot of triangles. It requires a subscription to simplify the model for more effective editting.
What you can do to get around this is actually import the model into TinkerCAD (which is also Autodesk btw) and chose the option to export to Fusion. It’s a little round-about but it works.
The extent of the editing was remove some outer cells and filling cells to add a mounting hole. Fairly straight forward though it has been a while since I’ve done CAD.
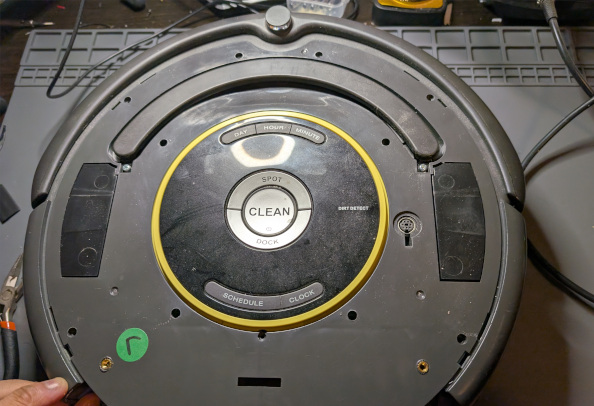
I added heat set inserts to the iRobot base so the grid could be screwed in place.
and the final result
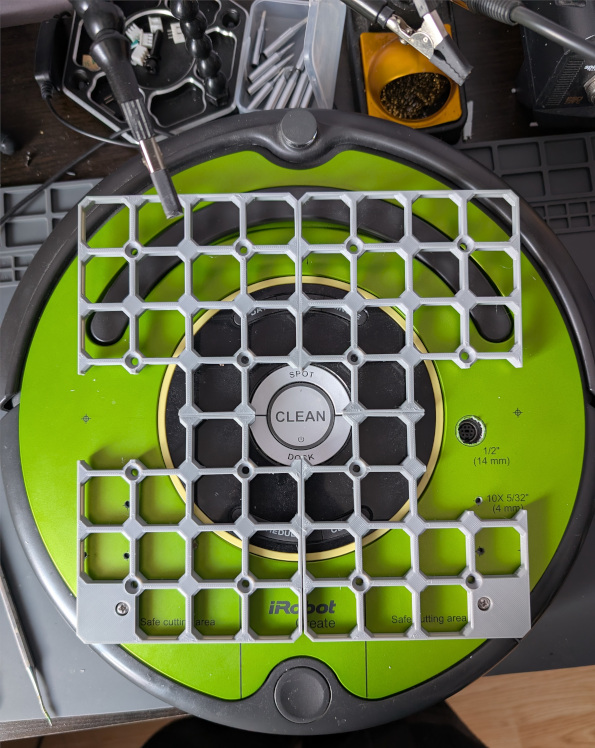
I really should add screw holes at the top as well but I have to ensure I pick a good spot for the inserts. So a job for another day.
What this gives me is a good foundation for adding parts and having cable managment out of the box.
Next up on this project will probably be figuring out the power supply story.
2 posts reference this page