on
BotW - Royal Broadsword v2
During the holidays I 3D printed the Royal Broadsword from Breath of the Wild.
While that turned out pretty nice I was obsessing over some small details and wanted to make another one.
Now, I’m a little ashamed it took me this long to make a new one and I wanted to do a lot more 3D printing projects this year. I mostly blame the issues with my Ender 3..
Here are the things I’ve wanted to change based on the reference image below:
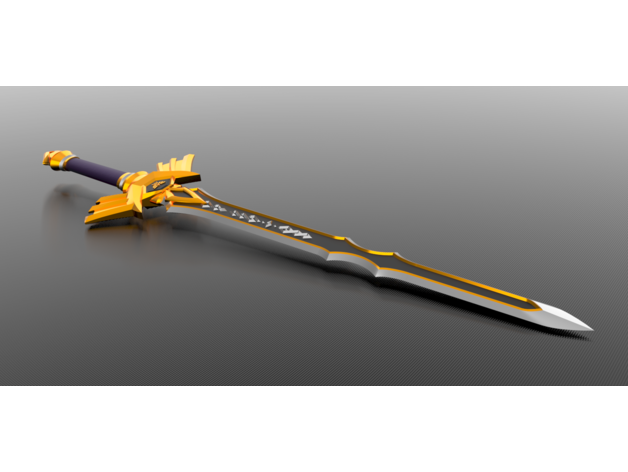
- Hide the seam between the sword pieces better
- Better use of colors for accents (the symbols coming from the base and the interior)
- An gem stone sorta thing in the hilt, with the gold triforce
- Make the triangular (?) at the base of the sword gold, instead of silver.
Over engineering
I made this very complicated for myself.. I could have probably reused most of my original STLs with the exception of the hilt.
The great hilt redesign
So most of my changes revolved around the hilt. I wanted to make room for the “gem”, and have the fancy triangular piece be part of the hilt as well (in my head I’ve called it a clasp as it “holds” the sword in place).
I also removed the fins from the hilt design, this makes the hilt easier to print (more easily fits in the print bed) and reduces the print time by greater then 33% (15 hours to a little over 9 hours).
I don’t have a lot of in progress picture unfortunately.
Removal and repair of the fins/wings:

This required reconstructing some of the geometry manually.
Now for the clasp (and unfortunately I do not have good image for all the steps in blender).
Since it was supposed to be part of the hilt, I tried editing the model to make the clasp part of the hilt STL. This work pretty well actually.
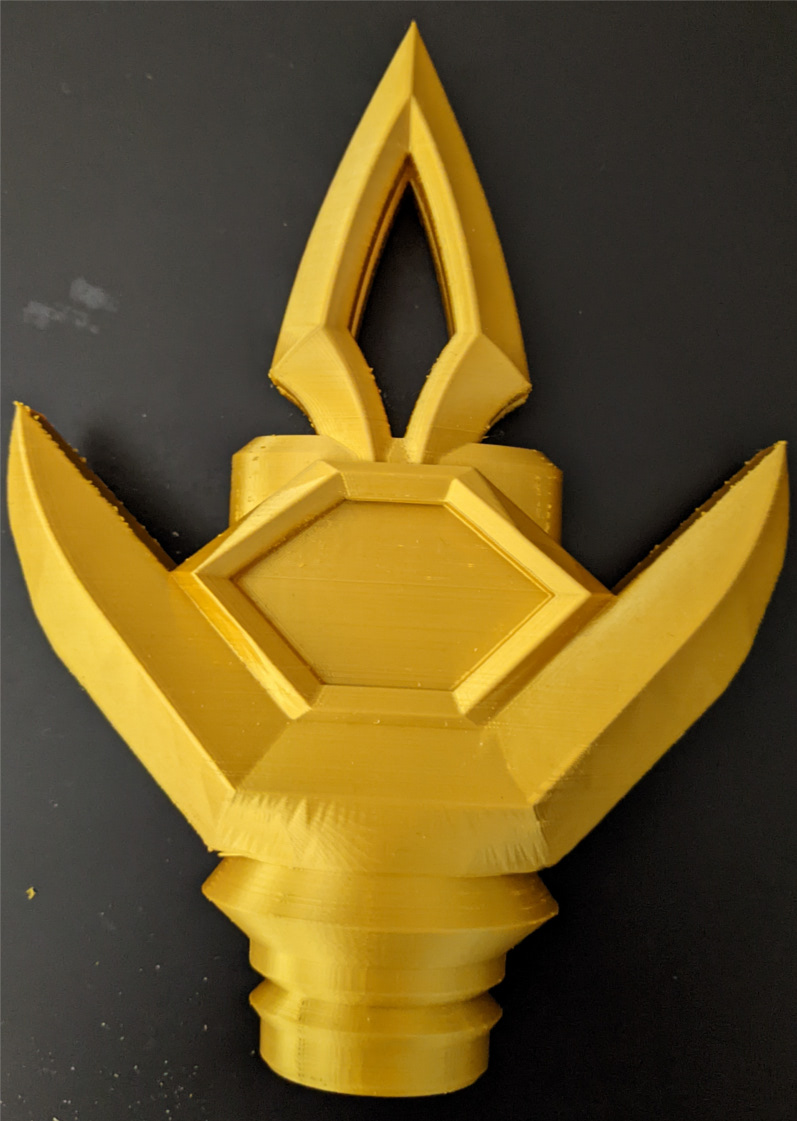
Except it made the sword impossible to slot in..
The next design had the clasp as separate pieces:
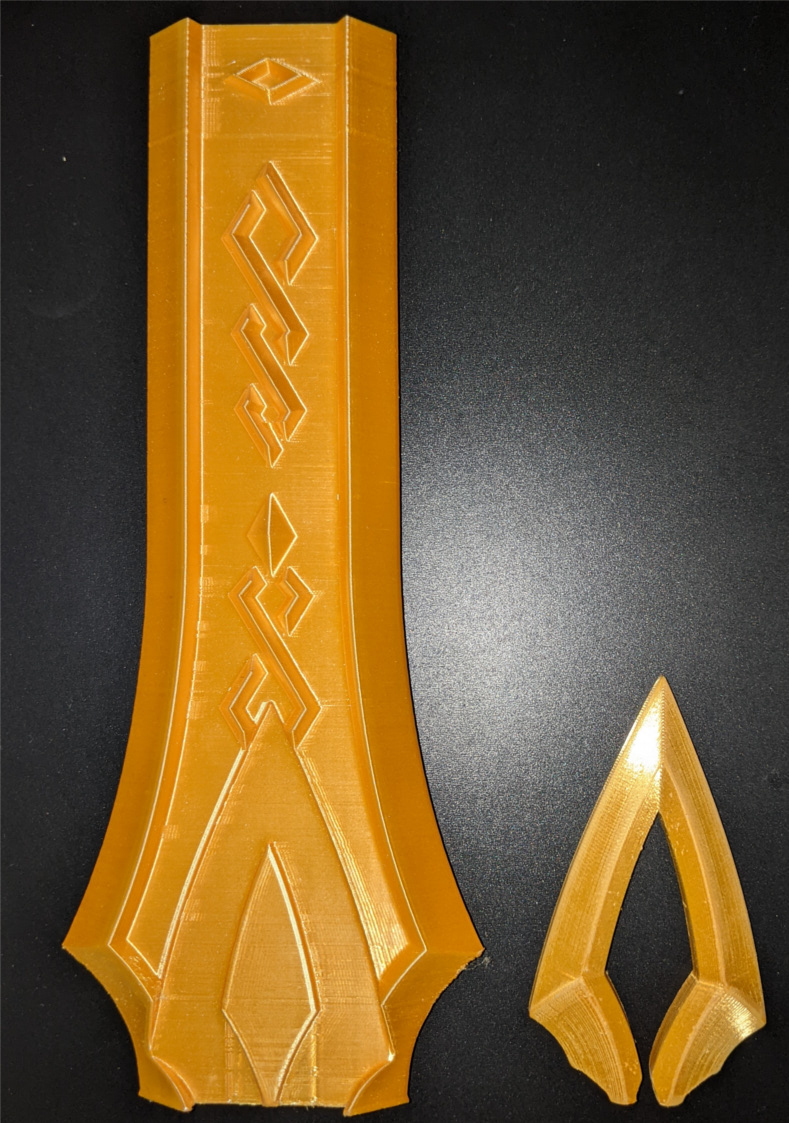
But the tolerance on the printer is not tight enough. The pieces don’t fit well together.
Ultimately I had the clasp be part of the sword just like before..
Gem in the Hilt
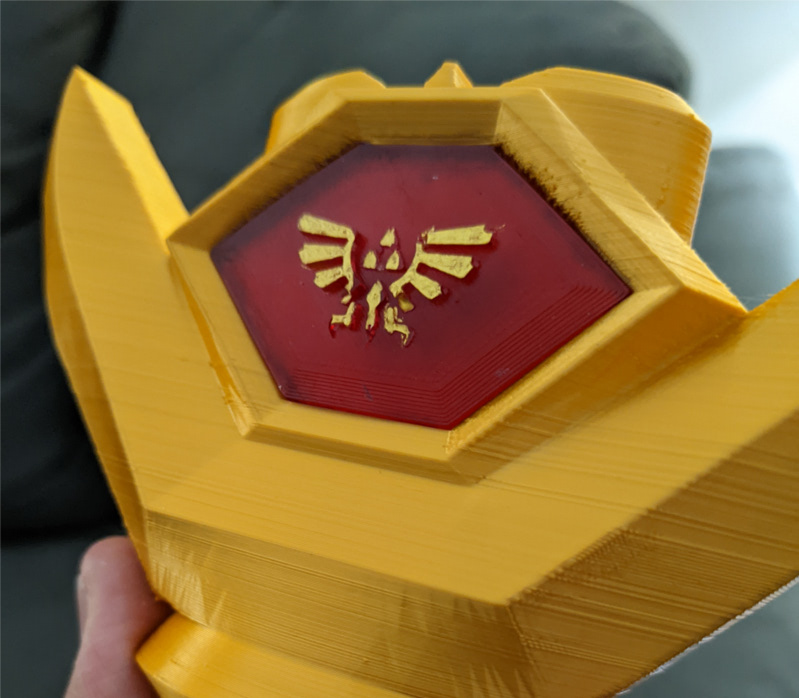
You can already see I’ve made a socket for the “gem stone”.
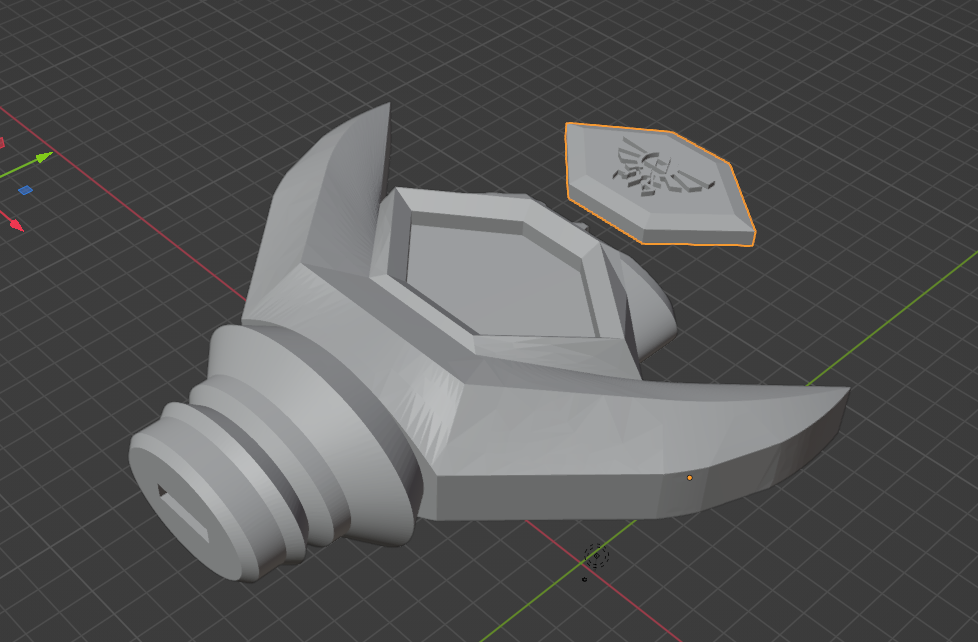
The “gem stone” itself is a separate 3D printed part. I molded this in silicone and casted it in epoxy resin mixed with ruby red dye.
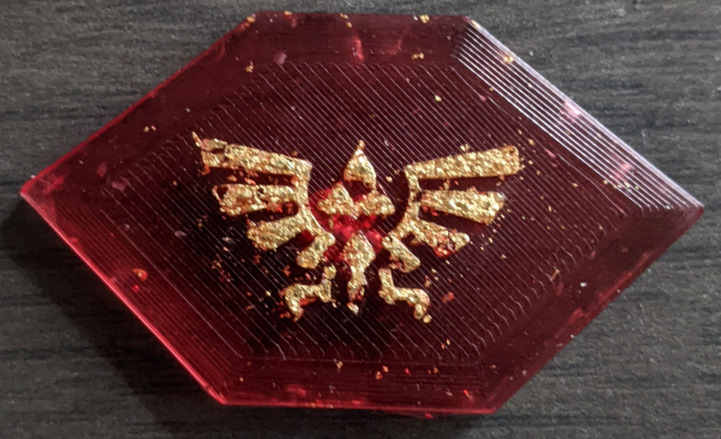
This was my first attempt using an imitation gold leaf. Kind of messy but not bad. You can see the lines from the 3D print however.
I opted to just paint the triforce gold.
The Blade
I 3D printed the whole sword in silk gold PLA. Used wood putty to fill in the gaps. Masked off the accent pieces then spray painted it a metallic silver.

Still needs a bit of touching up, but much better then the first attempt!
3 posts reference this page